Hyundai Elantra (CN7): Light Bulbs / License Plate Light Bulb Replacement
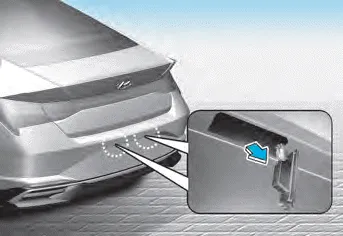
1. Using a flat-blade screwdriver gently pry the lens cover from the lamp housing.
2. Remove the bulb by pulling it straight out.
3. Install a new bulb.
4. Reinstall in the reverse order.
[A] : High mounted stop lamp 1. Open the trunk. 2. Remove the socket by turning it counterclockwise until the tabs on the socket align with the slots.
1. Using a flat-blade screwdriver, gently pry the lens from the interior lamp housing. 2. Remove the bulb by pulling it straight out. WARNING Prior to working on the Interior Lights, ensure that the “OFF” button is depressed to avoid burning your fingers or receiving an electric shock.
Other information:
Hyundai Elantra (CN7) 2021-2026 Service Manual: Auto Defogging Sensor
Description DescriptionThe auto defogging sensor is installed on the front window glass. The sensor judges and sends signal if moisture occurs to blow out wind for defogging. The air conditioner control module receives signal from the sensor and restrains moisture and eliminate defog by controlling the intake actuator, A/C, auto defogging actuat
Hyundai Elantra (CN7) 2021-2026 Service Manual: Smart Cruise Control (SCC) Switch
Schematic diagrams Circuit DiagramTRIP / SCC / LFA Repair procedures Inspection1.Check for resistance between terminals in each switch position (LH).[LH : Audio + Hands free] Switch Resistance (±5%) SEEK Up430 ΩSEEK Down1.
Categories
- Manuals Home
- Hyundai Elantra Owners Manual
- Hyundai Elantra Service Manual
- Suspension System
- Front Radar Unit
- Drive Mode
- New on site
- Most important about car
