Hyundai Elantra (CN7): Body (Interior and Exterior) / Body Side Molding
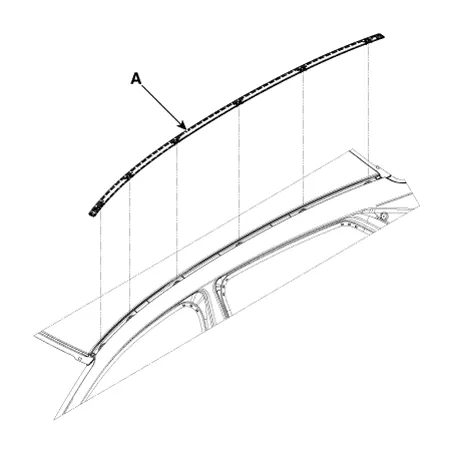
Roof Side Molding
Repair procedures
| Replacement |
|

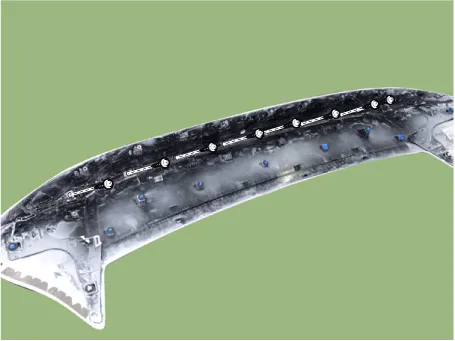
| 1. | Using a screwdriver or remover, remove the roof side molding (A).
|

| 2. | To install, reverse the removal procedure.
|
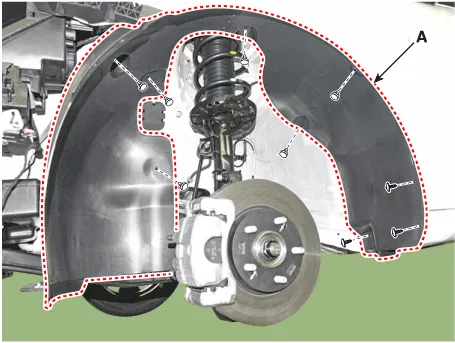
Front Wheel Guard
Repair procedures
| Replacement |
|
| 1. | Remove the front tire. |
| 2. | After loosening the mounting clips and remove the front wheel guard (A).
|
| 3. | To install, reverse the removal procedure.
|
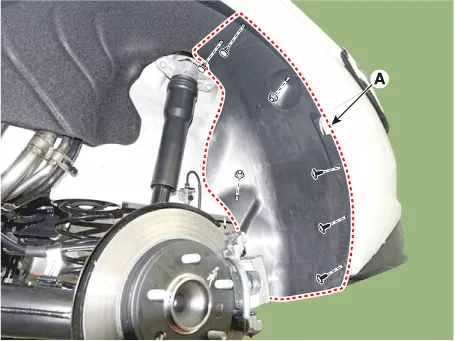
Rear Wheel Guard
Repair procedures
| Replacement |
|
| 1. | Remove the rear tire. |
| 2. | After loosening the mounting screws, clips and nut, remove the rear wheel guard [Rear] (A).
|
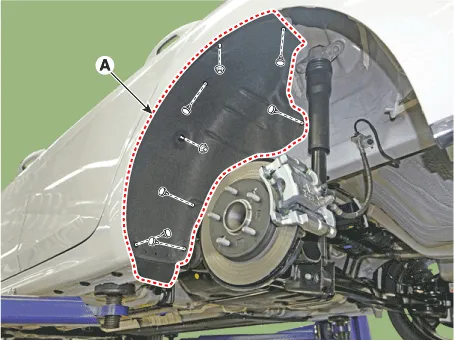
| 3. | After loosening the mounting screws, clips and nut, remove the rear wheel guard [Front] (A).
|
| 4. | To install, reverse the removal procedure.
|
Front Mud Guard
Repair procedures
| Replacement |
|
| 1. | After loosening the mounting screws and remove the front mud guard (A).
|
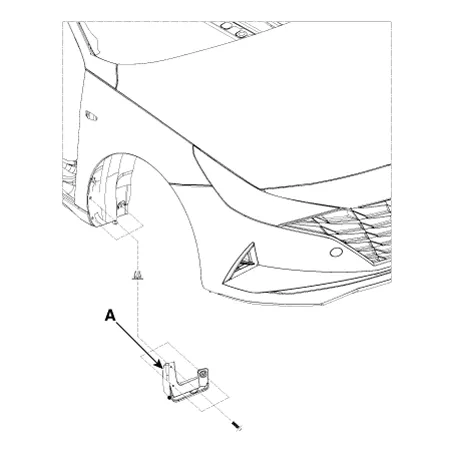
| 2. | To install, reverse the removal procedure.
|
Rear Mud Guard
Repair procedures
| Replacement |
|
| 1. | After loosening the mounting screws and remove the rear mud guard (A).
|
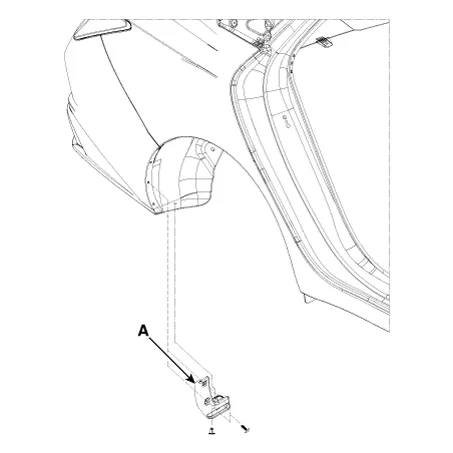
| 2. | To install, reverse the removal procedure.
|
Rear Spoiler
Components and components location
| Component Location |
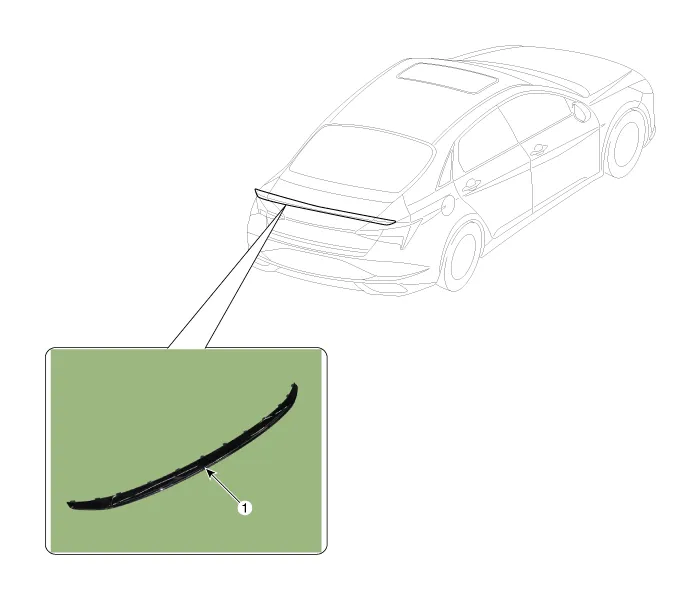
| 1. Rear spoiler |
Repair procedures
| Replacement |
|
| 1. | Remove the trunk lid back panel. (Refer to Trunk Lid - "Trunk Lid Back Panel") |
| 2. | Loosen the mounting screws, remove the trunk lid back panel bracket (A).
|
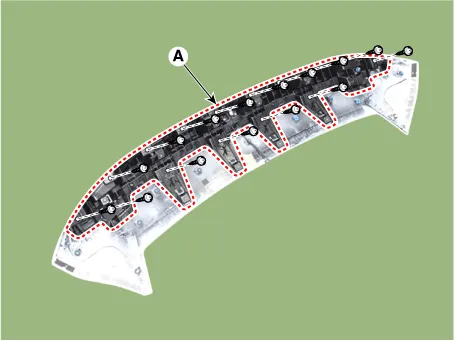
| 3. | Loosen the mounting screws, remove the rear spoiler (A).
|

| 4. | To install, reverse the removal procedure. |
Components and components location Component Location 1. Rear door latch Repair procedures Replacement1.Remove the rear door module.(Refer to Rear Door - "Rear Door Module")2.
Other information:
Hyundai Elantra (CN7) 2021-2026 Service Manual: Ignition Switch Assembly. Repair procedures
Repair procedures Replacement1.Disconnect the negative (-) battery terminal.2.Remove the crash pad lower panel.(Refer to Body - "Crash Pad")3.Remove the steering column upper & Lower shroud.4.Remove the ignition switch and disconnecting the Key Warning / immobilizer connector.
Hyundai Elantra (CN7) 2021-2026 Service Manual: Troubleshooting
TroubleshootingDiagnosis with Diagnostic tool1.In the body electrical system, failure can be quickly diagnosed by using the vehicle diagnostic system (Diagnostic tool).The diagnostic system (Diagnostic tool) provides the following information.1)Fault Code Searching : Checking failure and code number (DTC)2)Data Analysis : Checking the system input/
Categories
- Manuals Home
- Hyundai Elantra Owners Manual
- Hyundai Elantra Service Manual
- Front Radar Unit
- Troubleshooting
- Engine Control / Fuel System
- New on site
- Most important about car
