
Hyundai Elantra (CN7): Fuel Delivery System / Fuel Line
Repair procedures
| Removal |
| 1. | Release the residual pressure in fuel line. (Refer to Fuel Delivery System - "Release Residual Pressure in Fuel Line") |
| 2. | Turn ignition switch OFF and disconnect the battery negative (-) terminal. |
| 3. | Remove the air cleaner assembly. (Refer to Engine Mechanical System - "Air Cleaner") |
| 4. | Remove the battery and battery tray. (Refer to Engine Electrical System - " Battery") |
| 5. | Disconnect the fuel feed tube quick-connector (A).
|
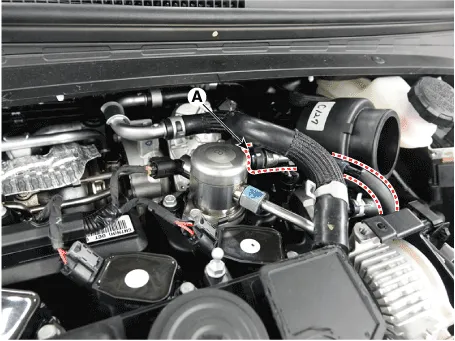

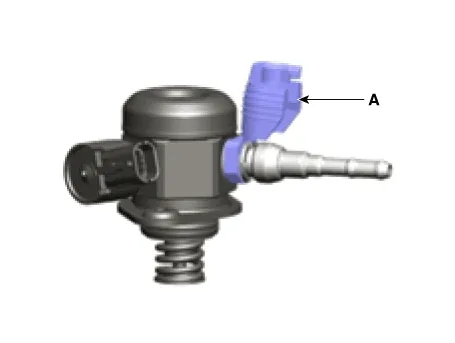

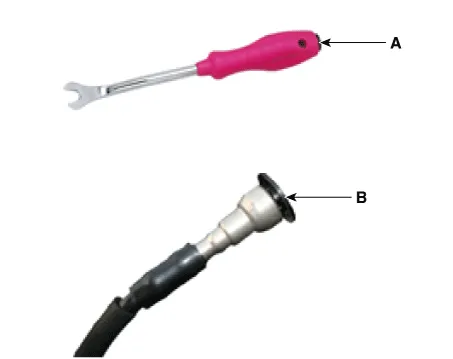
| 6. | Disconnect the vapor quick-connector (A) which is connected from the PCSV.
|
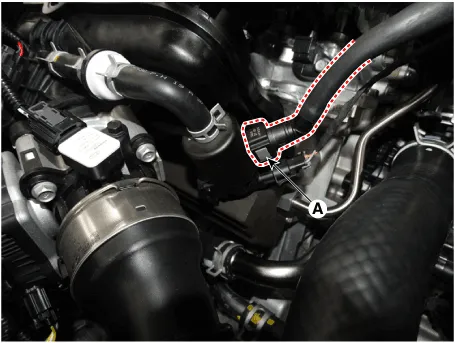
| 7. | Remove the bracket (A) after loosening the nut.
|
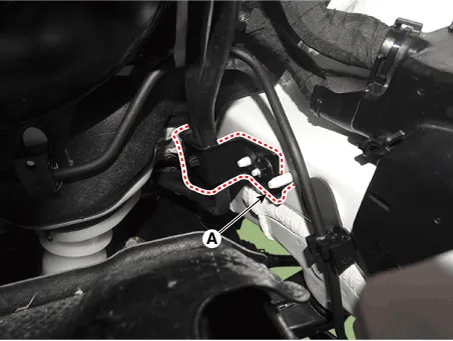
| 8. | Lift the vehicle. |
| 9. | Remove the fuel tank. (Refer to Fuel Delivery System - "Fuel Tank") |
| 10. | Remove the side under cover (A).
|
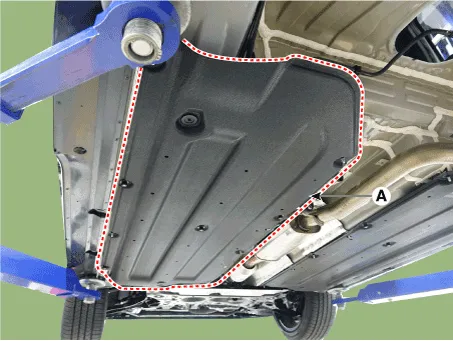
| 11. | Remove the hit protector (A).
|
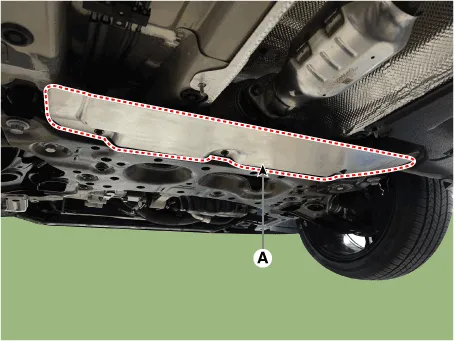
| 12. | Remove the fuel and brake line protector (A).
|
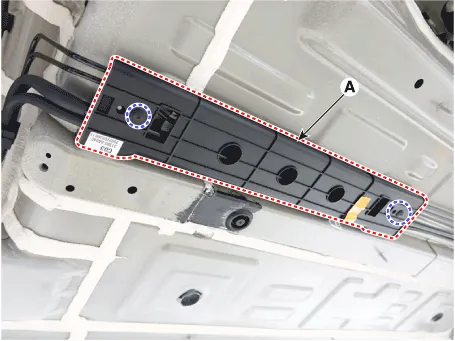
| 13. | Disconnect the vapor quick-connector (A).
|
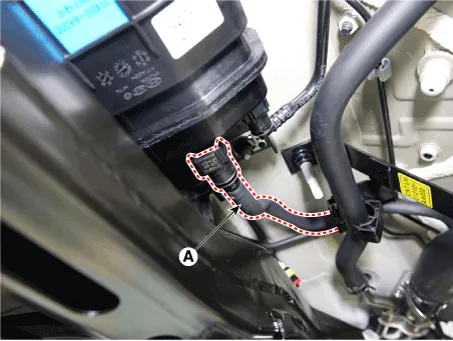
| 14. | Remove the fuel line fixing clip (A).
|
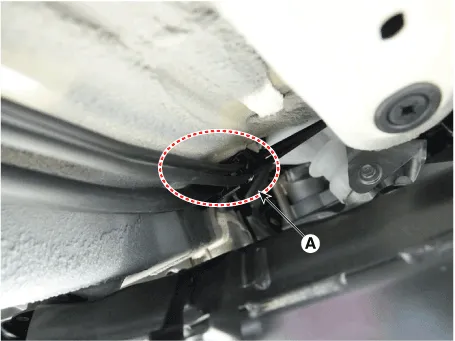
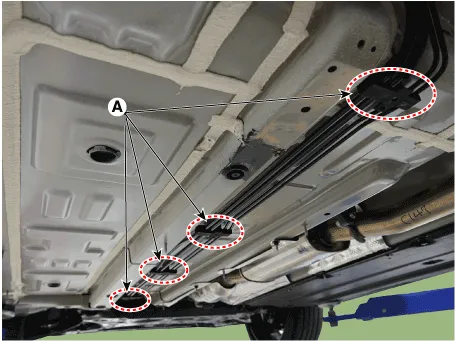
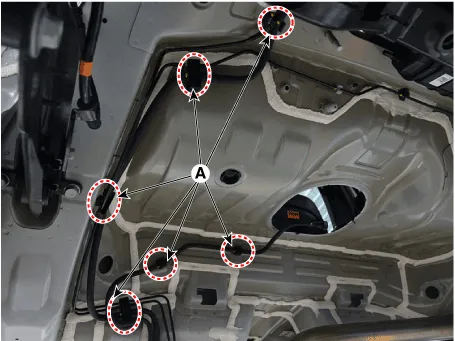
| 1. | Release the residual pressure in fuel line. (Refer to Fuel Delivery System - "Release Residual Pressure in Fuel Line") |
| 2. | Turn ignition switch OFF and disconnect the battery negative (-) terminal. |
| 3. | Remove the air cleaner assembly. (Refer to Engine Mechanical System - "Air Cleaner") |
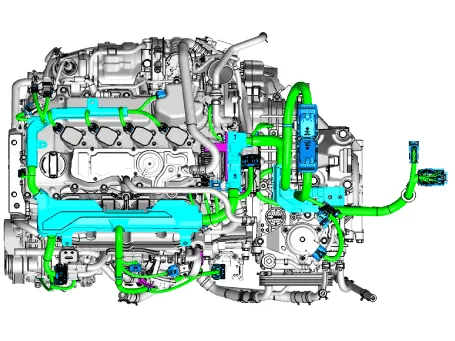
| 4. | Disconnect the engine wiring connector and harness clamps.
|
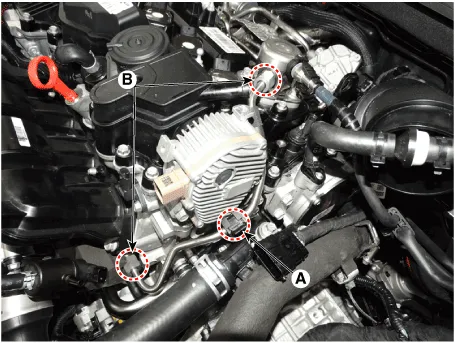
| 5. | Use the special service tool [SST No. : 09314-3Q100 or 09314-27130] to remove the high pressure fuel pipe function block mounting bolt (A) and removing the flange nut (B).
|
| Installation |
| 1. | Install in the reverse order of removal. |
Repair procedures Removal1.Remove the fuel pump. (Refer to Fuel Delivery System - "Fuel Pump")2.Disconnect the fuel pump motor connector (A) and fuel sender connector (B).
Repair procedures Removal1.Turn the ignition switch OFF and disconnect the negative (-) battery cable.2.Disconnect the accelerator position sensor connector (A).
Other information:
Hyundai Elantra (CN7) 2021-2026 Service Manual: Intake Actuator
Description and operation DescriptionThe intake actuator is located at the blower unit. It regulates the intake door by a signal from the control unit. Pressing the intake selection switch will shift between recirculation and fresh air modes. Components and components location Components Location1.
Hyundai Elantra (CN7) 2021-2026 Service Manual: General safety information and caution
General Safety Information and Caution1.Be careful when driving the vehicle using the smart cruise control system as follows.(1)On curves or inclines/declines• The smart cruise control system may have limits to detect distance to the vehicle ahead due to road and traffic conditions.
Categories
- Manuals Home
- Hyundai Elantra Owners Manual
- Hyundai Elantra Service Manual
- Function settings
- Body Electrical System
- Engine Control / Fuel System
- New on site
- Most important about car
