Hyundai Elantra (CN7): Tires/Wheels / Wheel
Components and components location
| Components |
|
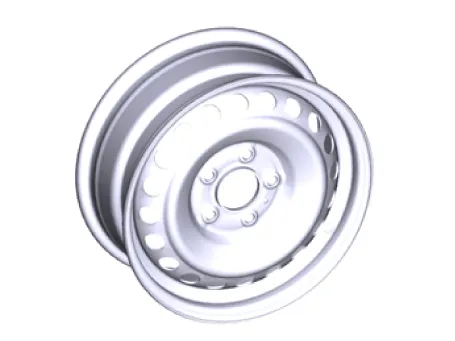
Steel wheel 15 inch (6.0J X 15)
|
Aluminum wheel 15 inch (6.0J X 15)
|
|
|
|
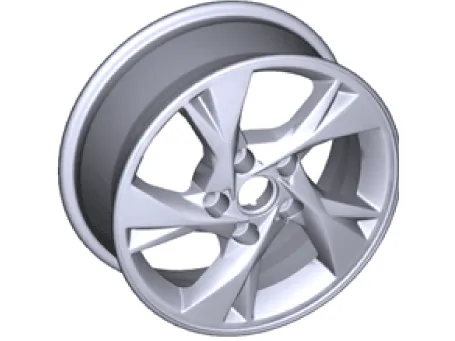
Aluminum wheel 16 inch (6.5J X 16)
|
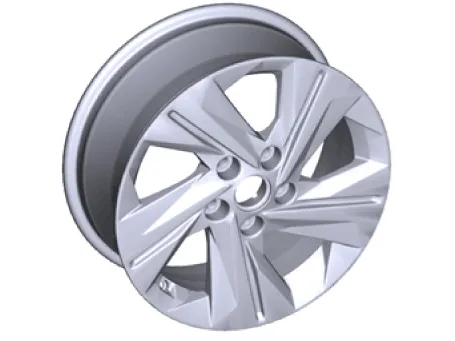
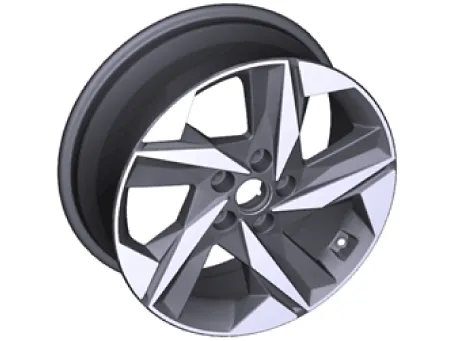
Aluminum wheel 17 inch (7.0J X 17)
|
|
|
Repair procedures
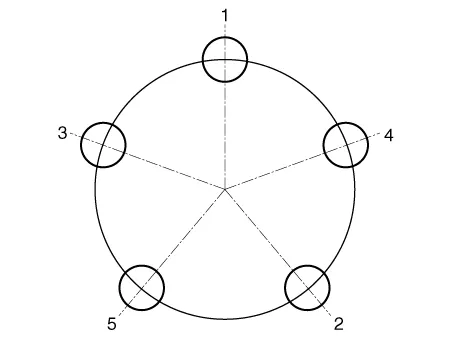
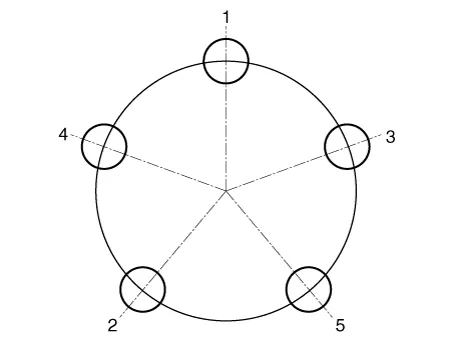
| Hub nut tightening sequence |
| 1. | Tightening torque
|

| 2. | Tighten all wheel nuts evenly according to the tightening sequence until fully tightened.
|

| Run out inspection |
| 1. | Jack up the vehicle. |
| 2. | Measure the wheel run-out by using a dial indicator as shown below.
| |||||||||||
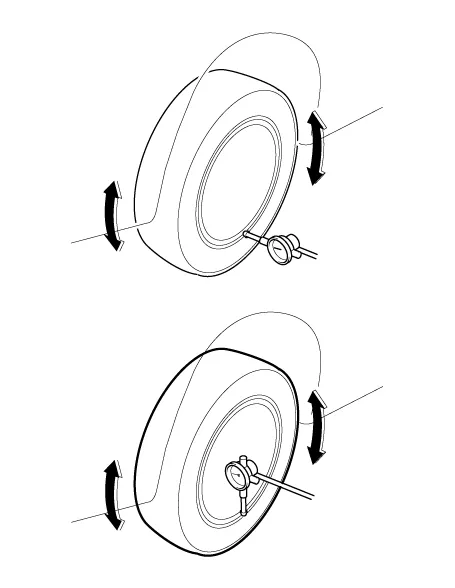
| 3. | If measured value run-out the standard value, replace the wheel. |
Repair procedures Tire Wear1.Measure the tread depth of the tires. Tread depth [limit] : 1.6 mm (0.0630 in.)2.If the remaining tread depth (A) is less than the limit, replace the tire.
Repair procedures InspectionFront AlignmentWhen using a wheel alignment tester to check the alignment of the wheels, make sure that the vehicle is horizontal and the front wheels are pointing straight ahead.
Other information:
Hyundai Elantra (CN7) 2021-2026 Service Manual: Power Mosfet
Description and operation DescriptionIt is installed to the DATC and adjusts the fan rpm by precisely controlling the voltage applied to the blower motor. Repair procedures Inspection1.Manually operate the control switch and measure the voltage of the blower motor.
Hyundai Elantra (CN7) 2021-2026 Service Manual: Repair procedures
Variant Coding When you need variant coding:– Replace Front View Camera with a new one※ EOL Variant Coding and calibration required for new replacementFront View Camera Variant CodingFront view camera variant coding makes it possible to operate functions for each vehicle type.
Categories
- Manuals Home
- Hyundai Elantra Owners Manual
- Hyundai Elantra Service Manual
- Brake System
- Components and components location
- Auto Hold. Warning messages
- New on site
- Most important about car
