Hyundai Elantra (CN7): Tires/Wheels / Tire
Repair procedures
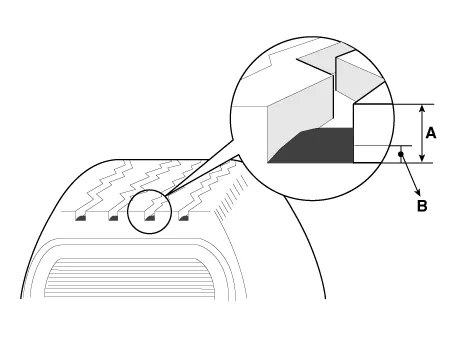
| Tire Wear |
| 1. | Measure the tread depth of the tires.
|
| 2. | If the remaining tread depth (A) is less than the limit, replace the tire.
|

| Removal |
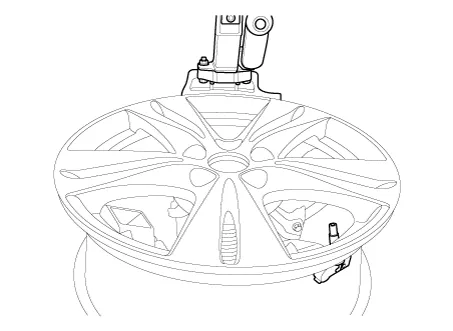
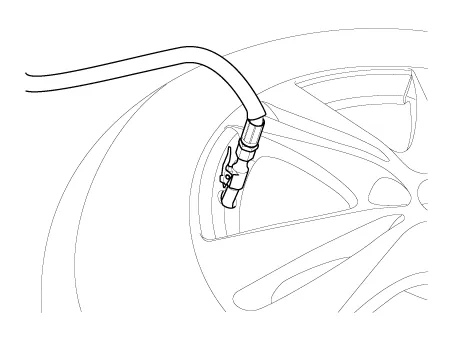
| 1. | Remove valve core and deflate the tire. |
| 2. | Remove the side of the tire bead area from the wheel using tire changing machine .
|
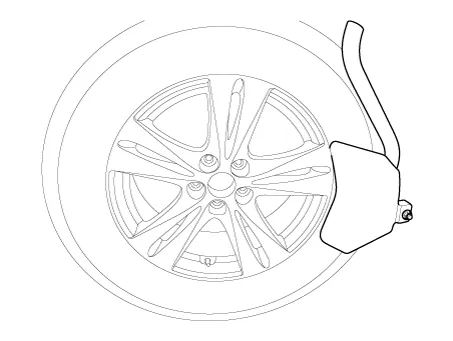

| 3. | Rotate the wheel clockwise.
|

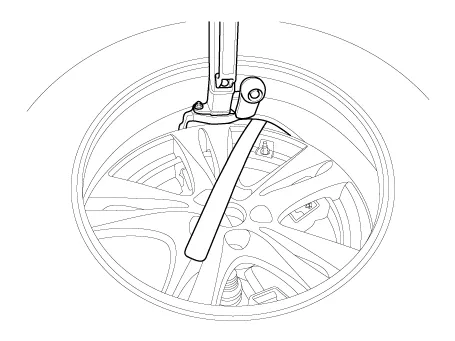
| Installation |
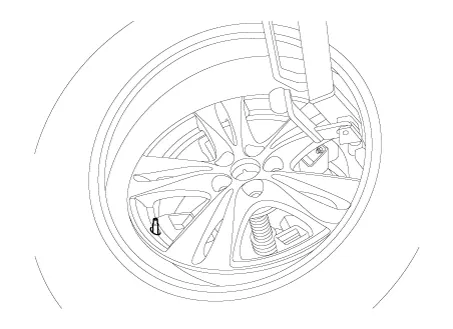
| 1. | Apply tire soap or lubrication to the top and bottom tire beads.
|

| 2. | To fit the bottom bead, position the valve at the 5 o’clock position relative to the head on the tire changing machine.
|
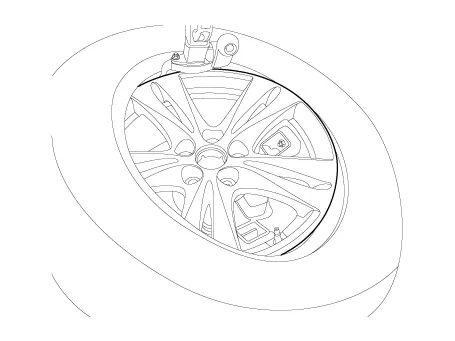
| 3. | Place the tire on the rim so the bottom bead touches the edge of the rim after the valve (6 o’clock). Rotate the rim clockwise, and push down on the tire at the 3 o’clock position to fit bottom bead.
|
| 4. | Push down on the tire at the 3 o’clock position and rotate the rim clockwise to fit the top bead.
|
| 5. | Inflate the tire until beads seat.
|
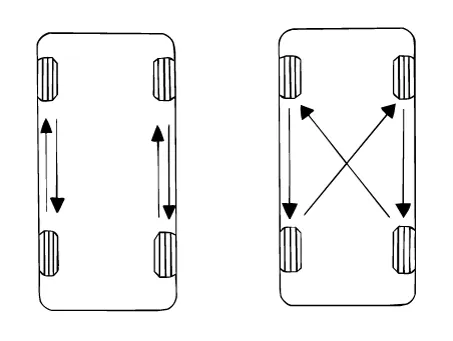
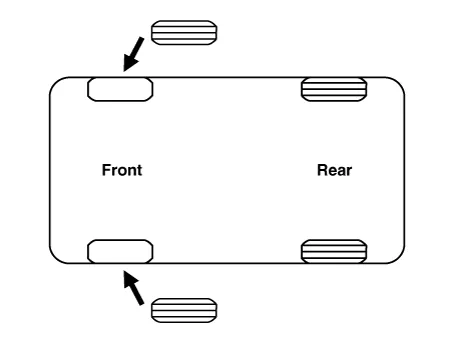
| Tire Rotation |
Replace the tire in the direction of the arrow shown in the figure.
Checking For Pull And Wander
If the steering pulls to one side, rotate the tires according to the following wheel rotation procedure.
| 1. | Rotate the front right and front left tires, and perform a road test in order to confirm vehicle stability.
|
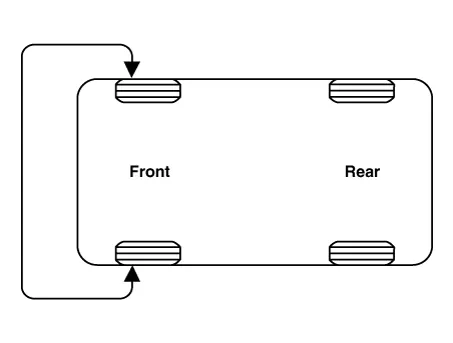
| 2. | If the steering pulls to the opposite side, rotate the front and rear tires, and perform a road test again.
|
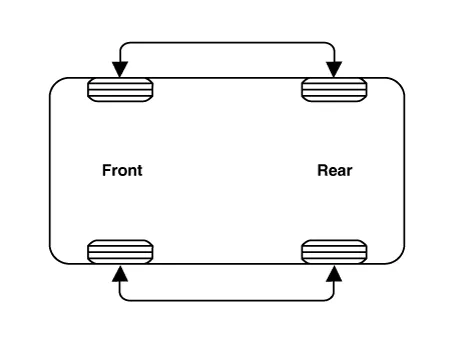
| 3. | If the steering continues to pull to one side, rotate the front right and left tires again, and perform a road test.
|
| 4. | If the steering continues to pull to the opposite side, replace the front wheels with new ones.
|
Components and components location Components Steel wheel 15 inch (6.0J X 15) Aluminum wheel 15 inch (6.
Other information:
Hyundai Elantra (CN7) 2021-2026 Service Manual: License Lamps
Repair procedures Removal1.Disconnect the negative (-) battery terminal.2.Push the lock pin (B) and remove the license lamp (A).3.Disconnect the license lamp connector (A).4.Replace the bulb (A).Installation1.Connect the license lamp connector.2.Install the license lamp.
Hyundai Elantra (CN7) 2021-2026 Service Manual: Climate Control Air Filter
Description and operation Description The climate control air filter is located in the blower unit. It eliminates foreign materials and odor. The particle filter performs a role as an odor filter as well as a conventional dust filter to ensure comfortable interior environment.
Categories
- Manuals Home
- Hyundai Elantra Owners Manual
- Hyundai Elantra Service Manual
- Front Bumper
- Engine Control / Fuel System
- Auto Hold. Warning messages
- New on site
- Most important about car

Copyright © 2026 www.helantra7.com - 0.0162