Hyundai Elantra (CN7): Body (Interior and Exterior) / Front Bumper
Components and components location
| Components |
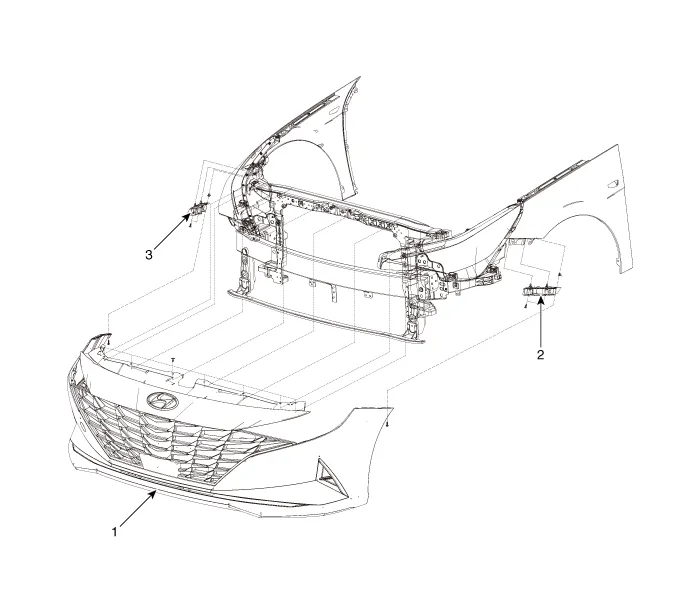
| 1. Front bumper assembly 2. Front bumper side bracket [LH] | 3. Front bumper side bracket [RH] |
| 1. Front bumper assembly 2. Front bumper side bracket [LH] | 3. Front bumper side bracket [RH] |
Front Bumper Assembly
Components and components location
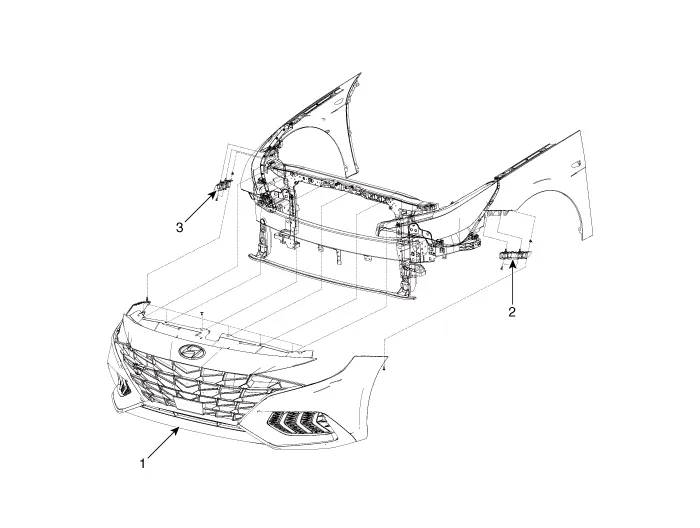
| Component Location |
| 1. Front bumper Assembly |
| 1. Front bumper assembly |
Repair procedures
| Replacement |
|

|

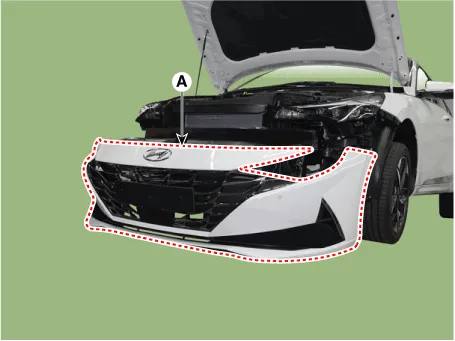
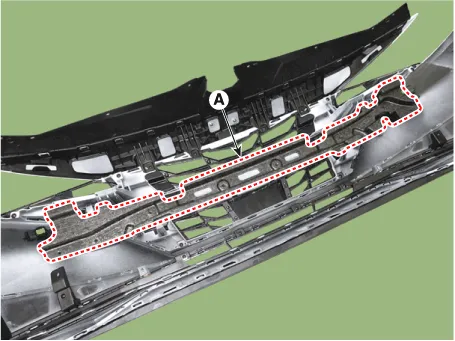
| 1. | Loosen the front bumper upper mounting clips.
|

| 2. | Loosen the front bumper lower mounting clips.
|
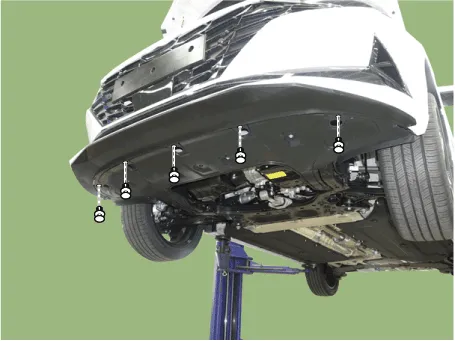
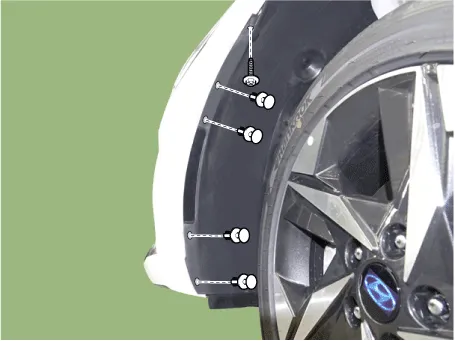
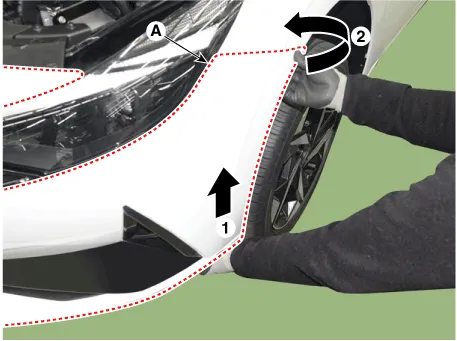
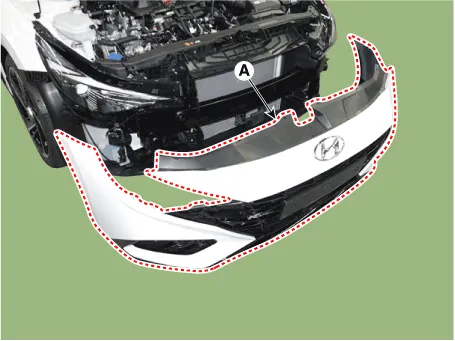
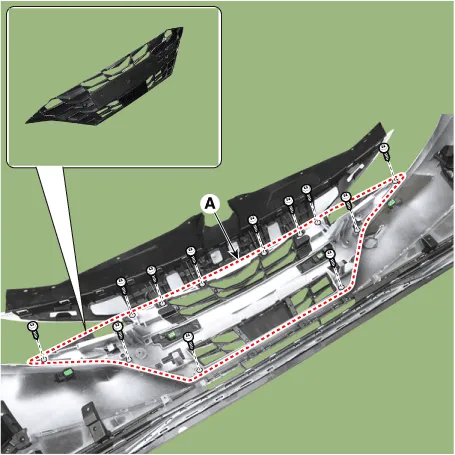
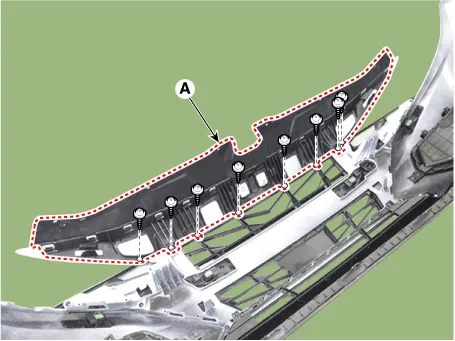
| 3. | After loosening the pin-type retainers and screws on the side of front bumper (A), detach the side part of front bumper.
|
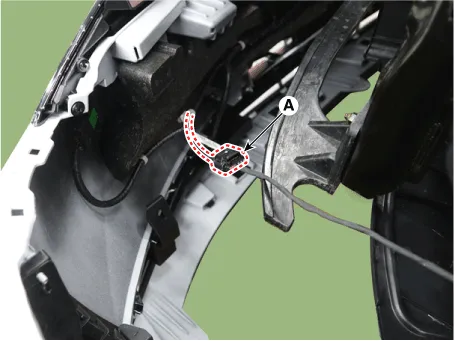
| 4. | Disconnect the front bumper main connector (A).
|
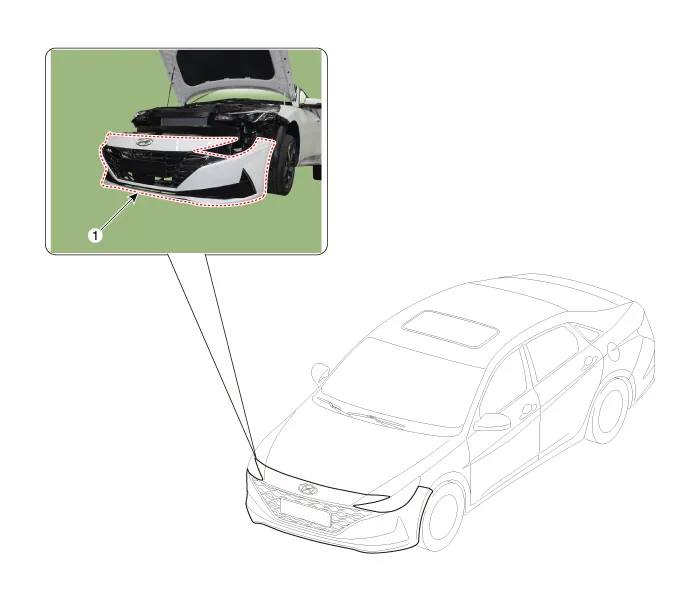
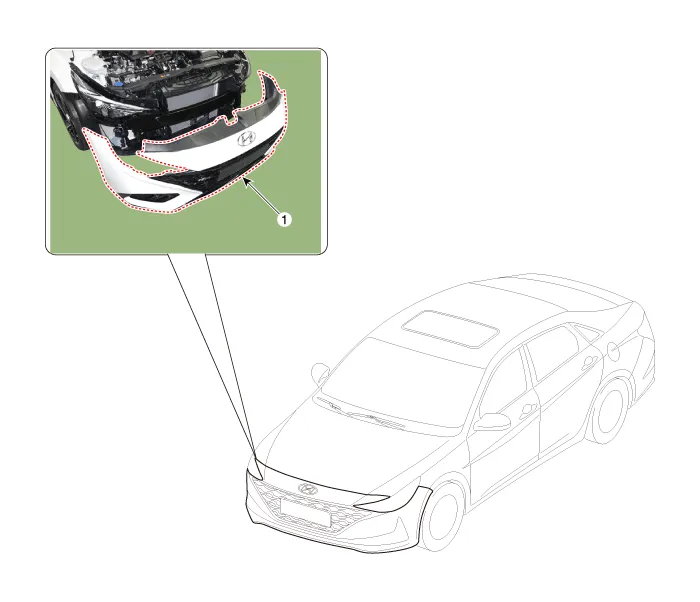
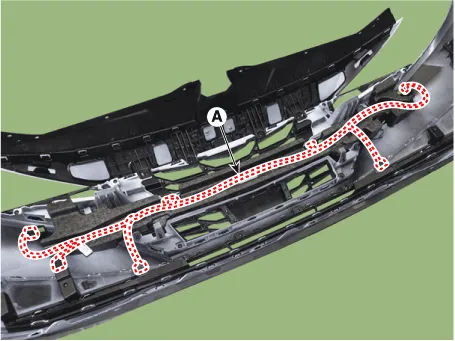
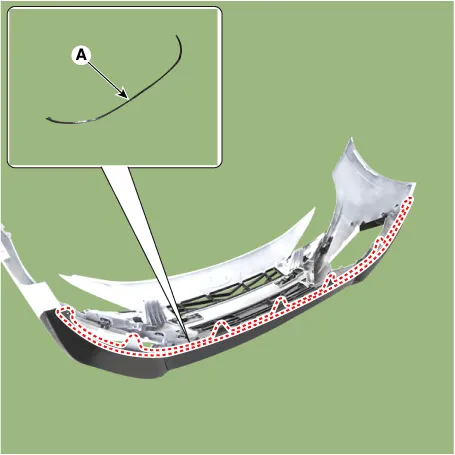
| 5. | Remvoe the front bumper assembly (A). [General type]
[N Line]
|
| 6. | To install, reverse the removal procedure.
|

Radiator Grill
Components and components location
| Component Location |
| 1. Radiator grill |
Repair procedures
| Replacement |
|
|
| 1. | Remove the front bumper assembly. (Refer to Front Bumper - "Front Bumper Assembly") |
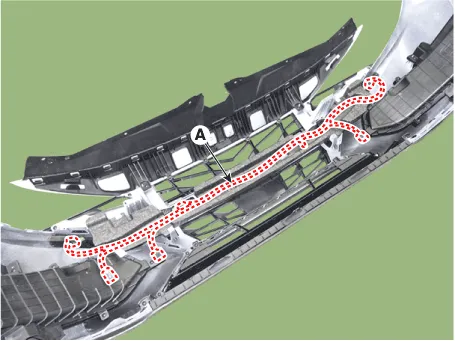
| 2. | Detach the wiring (A) mounted on the front bumper assembly and energy absober.
|
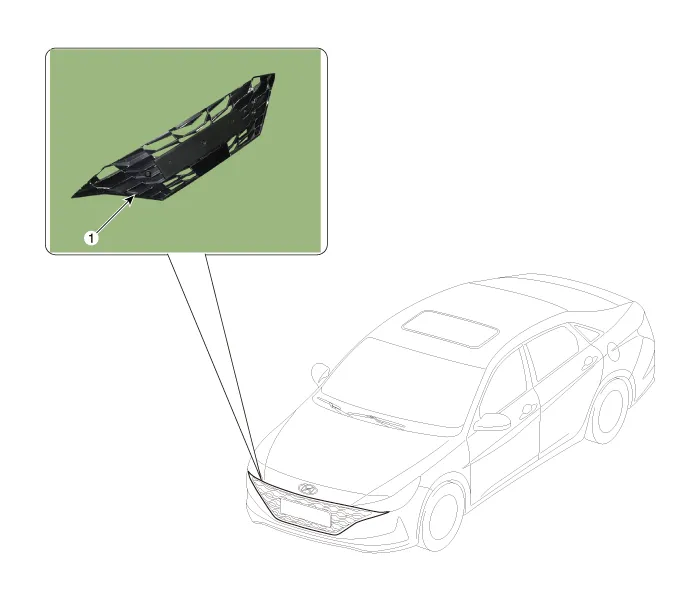
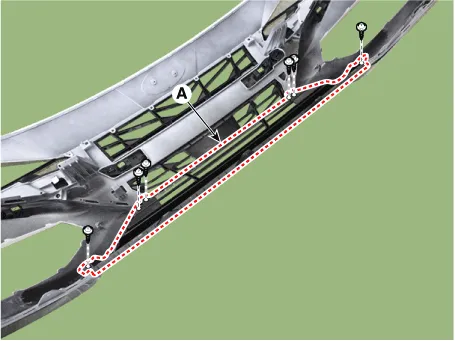
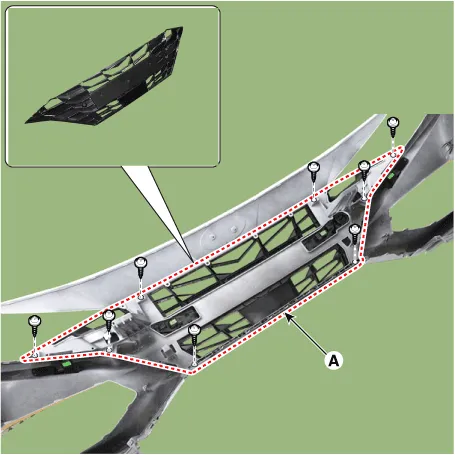
| 3. | Remove the front bumper energy absorber (A).
|
| 4. | Loosen the mounting screws, remove the radiator grill (A).
|
| 5. | To install, reverse the removal procedure.
|
|
|
| 1. | Remove the front bumper assembly. (Refer to Front Bumper - "Front Bumper Assembly") |
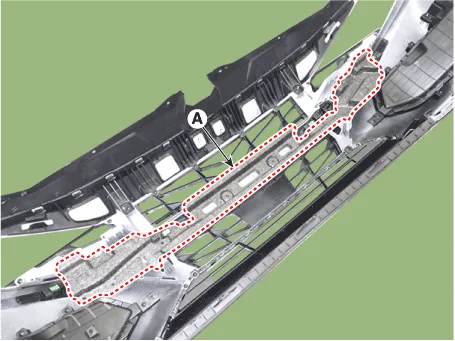
| 2. | Detach the wiring (A) mounted on the front bumper assembly and energy absober.
|
| 3. | Remove the front bumper energy absorber (A).
|
| 4. | Loosen the mounting screws, remove the radiator grill upper cover (A).
|
| 5. | Remove the front bumper lip (A).
|
| 6. | Loosen the mounting screws, remove the front bumper grill (A).
|
| 7. | Loosen the mounting screws, remove the front bumper molding (A).
|

| 8. | Loosen the mounting screws, remove the radiator grill (A).
|
| 9. | To install, reverse the removal procedure.
|
Repair procedures Replacement • When removing with a flat - tip screwdriver or remover, wrap protective tape around the tools to prevent damage to components.
Components and components location Component Location [General type]1. Rear bumper assembly2. Rear bumper under cover [LH]3. Rear bumper under cover [RH]4.
Other information:
Hyundai Elantra (CN7) 2021-2026 Service Manual: Description and operation
DescriptionThe cruise control system is engaged by the cruise "ON/OFF" main switch located on right of steering wheel column. The system has the capability to cruise, coast, accelerate and resume speed.It also has a safety interrupt, engaged upon depressing brake or shifting select lever.
Hyundai Elantra (CN7) 2021-2026 Service Manual: ADAS Parking ECU (ADAS_PRK)
Components and components location Components and Components Location Repair procedures Removal • Use a plastic panel removal tool to remove interior trim pieces without marring the surface.• Take care not to bend or scratch the trim and panels.
Categories
- Manuals Home
- Hyundai Elantra Owners Manual
- Hyundai Elantra Service Manual
- Vehicle Information
- Front Bumper
- Suspension System
- New on site
- Most important about car
