Hyundai Elantra: Crash Pad / Cluster Fascia Side Panel
Hyundai Elantra (CN7) 2021-2025 Service Manual / Body (Interior and Exterior) / Crash Pad / Cluster Fascia Side Panel
Repair procedures
| Replacement |
|

|

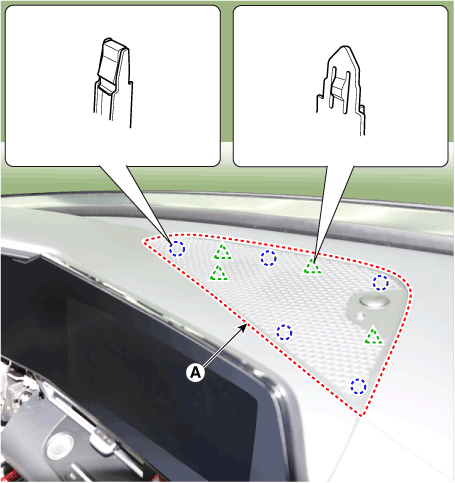
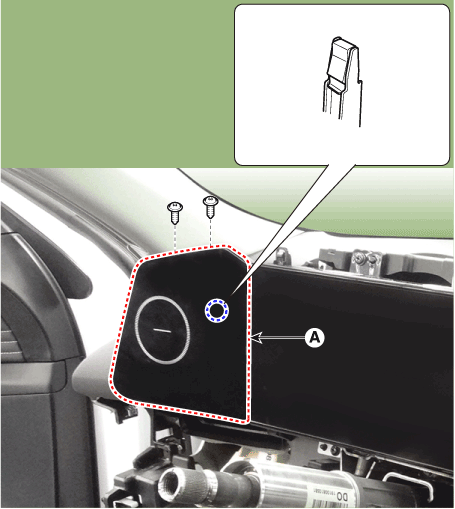
| 1. | Using a screwdriver or remover, remove the photo sensor cover (A).
|
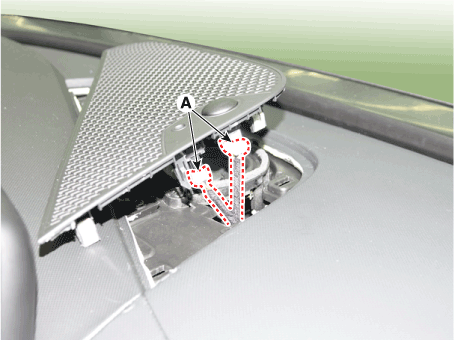
| 2. | Press the lock pin, separate the connectors (A).
|
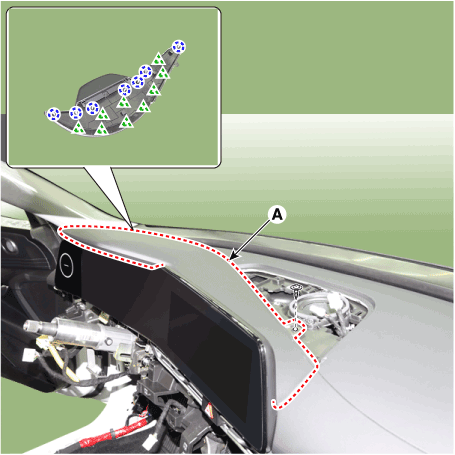
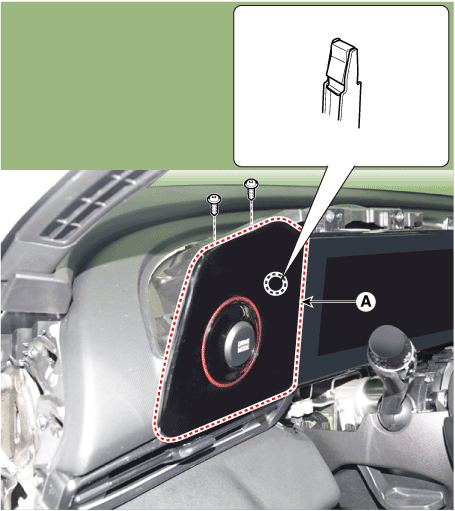
| 3. | Using a screwdriver or remover, remove the cluster fascia panel upper garnish (A).
|
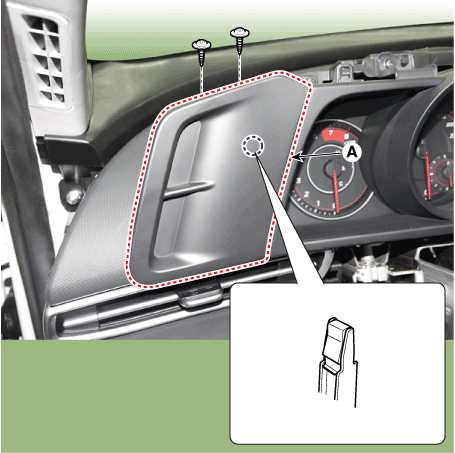
| 4. | Loosen the mounting screw, remove the cluster fascia side panel (A). [4.2" TFT LCD]
[10.25" TFT cluster]
[N Line]
|
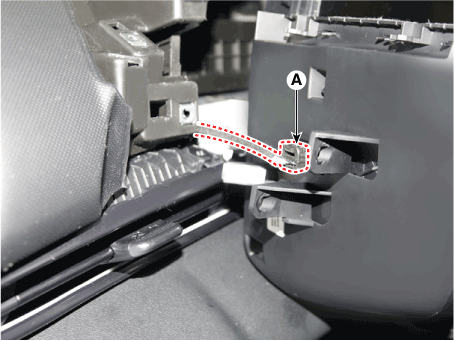
| 5. | Press the lock pin, separate the cluster fascia side panel connector (A). [N Line]
|
| 6. | To install, reverse the removal procedure.
|


 Cluster Fascia Panel
Components and components location
Components Location[This illustration shows the LHD type. RHD type is symmetrical.]1. Center fascia panel
Repair procedures
Replacement
•
When removing with a flat - tip screwdriver or remover, wrap protective tape around the tools to prevent damage to components...
Other information:
Hyundai Elantra (CN7) 2021-2025 Service Manual: General information
Tightening Torque Table of Standard Parts BOLT (Nominal diameter) NUT (Nominal diameter) BOLT/NUT Normal screw Torque Nm (kg.m, Ib-ft) Nominal diameter...
Hyundai Elantra (CN7) 2021-2025 Service Manual: Oil Pump
Repair procedures Removal and InstallationOil Pump1.Remove the engine room under cover.(Refer to Engine and Transaxle Assembly - "Engine Room Under Cover")2.Drain the engine oil.(Refer to Lubrication System - "Engine Oil")3.Remove the oil pan.(Refer to Lubrication System - "Oil Pan")4...
Categories
- Manuals Home
- 7th Gen Hyundai Elantra Owners Manual
- 7nd Gen Hyundai Elantra Service Manual
- Vehicle Information
- Instrument Panel Overview
- System operation
- Rear Seats
- Control Cable
Tachometer
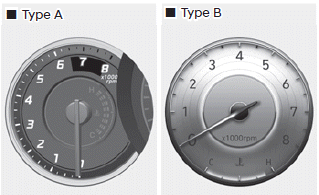
The tachometer indicates the approximate number of engine revolutions per minute (RPM).
Use the tachometer to select the correct shift points and to prevent lugging and/ or over-revving the engine.
NOTICE
Do not operate the engine within the tachometer's RED ZONE. This may cause severe engine damage.

Copyright © 2025 www.helantra7.com