If the plasticgauge shows that the clearance is still incorrect, try the next larger or smaller bearing (the color listed above or below that one), and check clearance again. | •
| If the plasticgauge shows that the clearance is still incorrect, try the next larger or smaller bearing (the color listed above or below that one), and check clearance again. |
| •
| If the marks are indecipherable because of an accumulation of dirt and dust, do not scrub them with a wire brush or scraper. Clean them only with solvent or detergent. |
|
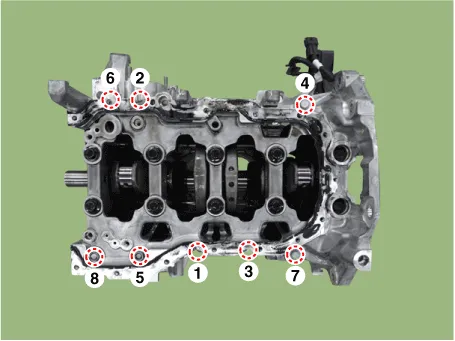
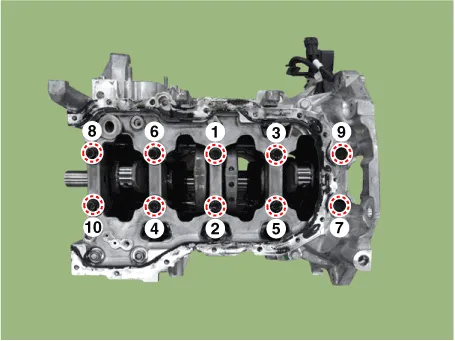
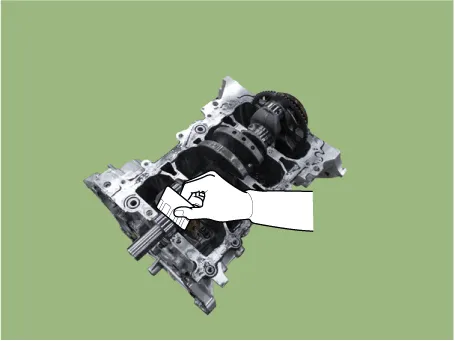
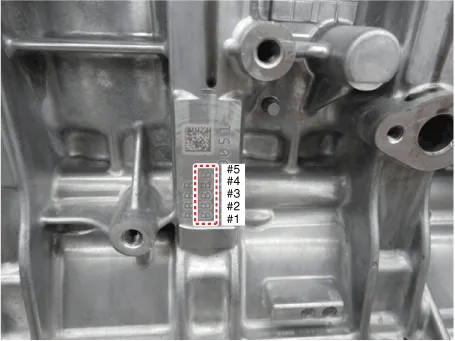
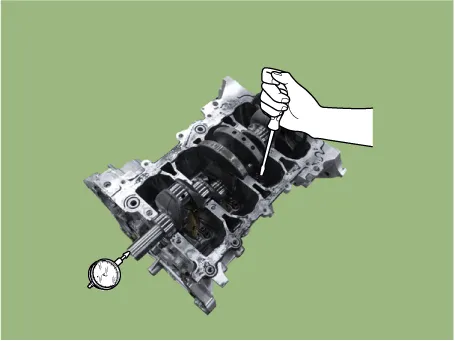
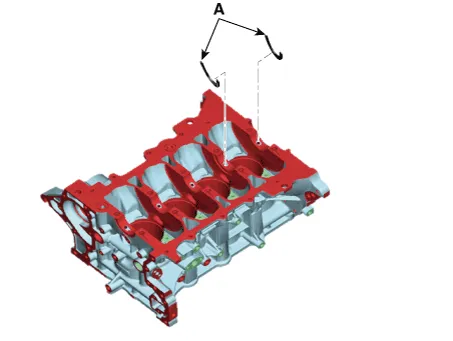
Cylinder Block Crankshaft Journal Bore Mark Location Letters have been stamped on the side surface of the block as a mark for the size of each of the 5 main journal bores. Use them, and the numbers or letters stamped on the crank (marks for main journal size), to choose the correct bearings. 
Class
| Mark
| Cylinder block crankshaft journal bore inner diameter
| a
| A
| 50.000 - 50.006 mm
(1.9685 - 1.9687 in.)
| b
| B
| 50.006 - 50.012 mm
(1.9687 - 1.9690 in.)
| c
| C
| 50.012 - 50.018 mm
(1.9690 - 1.9692 in.)
|
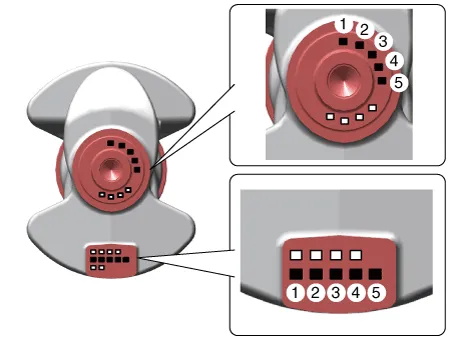
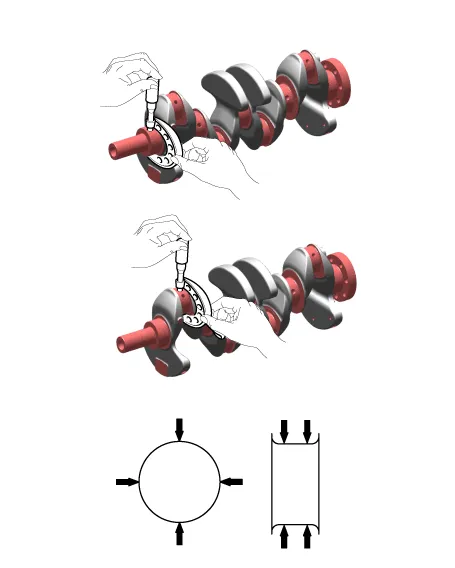
Crankshaft Main Journal Mark Location 
Discrimination Of Crankshaft Main Journal
Class
| Mark
| Crankshaft main journal outer diameter
| â…
| 1
| 44.954 - 44.960 mm
(1.7698 - 1.7701 in.)
| II
| 2
| 44.948 - 44.954 mm
(1.7696 - 1.7698 in.)
| III
| 3
| 44.942 - 44.948 mm
(1.7694 - 1.7696 in.)
|
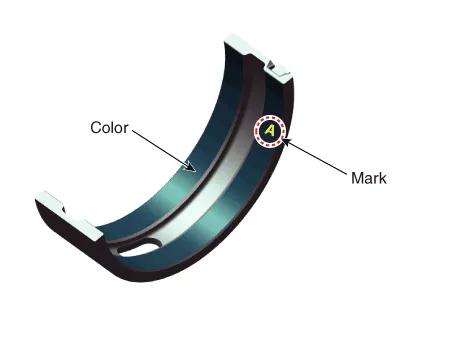
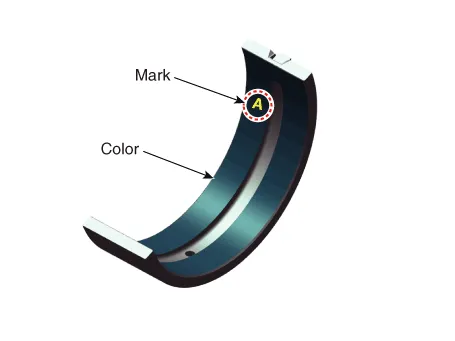
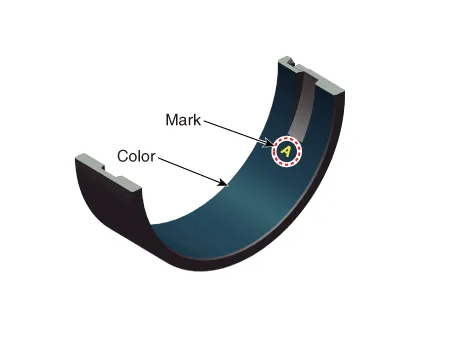
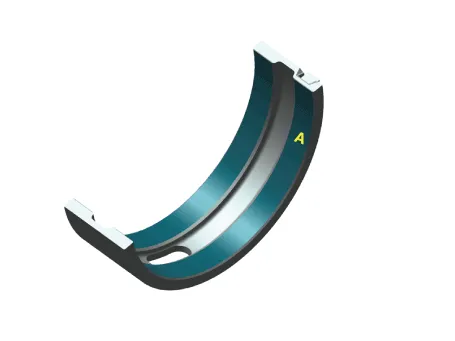
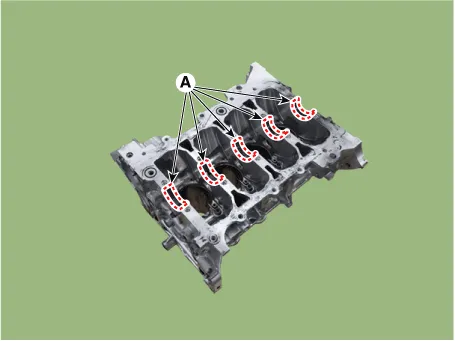
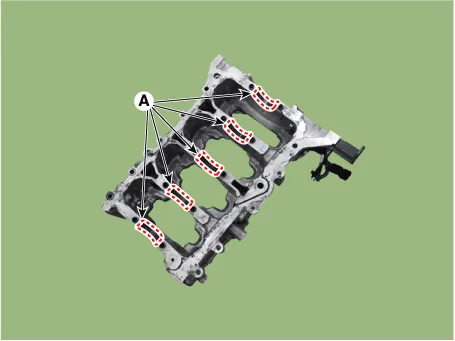
Crankshaft Bearing Identification Mark Location [No. 2, No. 4 Journal Upper Bearing] 
[No. 1, No. 3, No. 5 Journal Upper Bearing] 
[Lower Bearing] 
Discrimination Of Crankshaft Bearing
Class
| Color
| Bearing thickness
| A
| Blue
| 2.524 - 2.527 mm
(0.0994 - 0.0995 in.)
| B
| Black
| 2.521 - 2.024 mm
(0.0993 - 0.0797 in.)
| C
| None
| 2.518 - 2.521 mm
(0.0991 - 0.0993in.)
| D
| Green
| 2.515 - 2.518 mm
(0.0990 - 0.0991 in.)
| E
| Red
| 2.512 - 2.515 mm
(0.0989 - 0.0990 in.)
|
| 


