
Hyundai Elantra (CN7): Rear Door / Rear Door Trim
Components and components location
| Component Location |
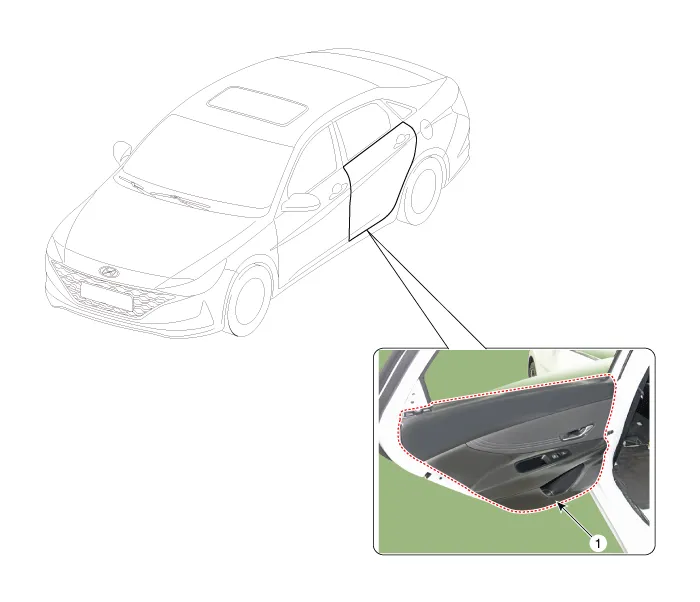
| 1. Rear door trim |
Repair procedures
| Replacement |
|

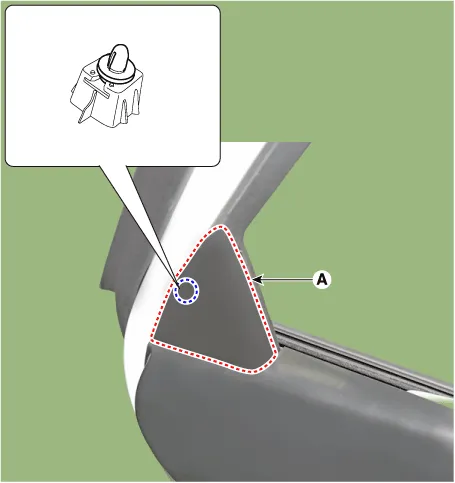
| 1. | Using a screwdriver or remover, remove the rear door delta inner cover (A).
|
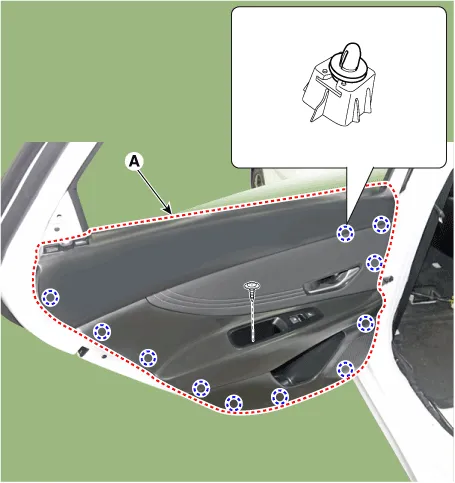
| 2. | After loosening the mounting screws, remove the rear door trim (A).
|
| 3. | Remove the rear door inside handle cage (A).
|
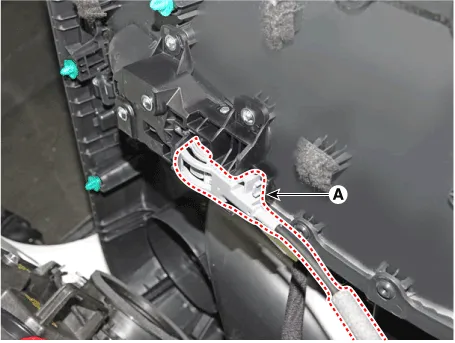
| 4. | Disconnect the power window switch connector (A).
|
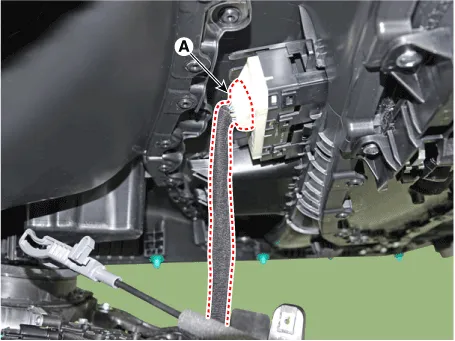
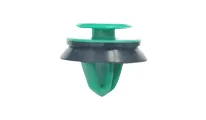
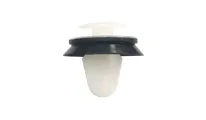
| 5. | To install, reverse the removal procedure.
| ||||||||||||||||||

AdjustmentGlass Adjustment • Check the glass run channel for damage or deterioration, and replace them if necessary.
Repair procedures Replacement1.Remove the rear door trim.(Refer to Rear Door - "Rear Door Trim")2.After loosening the mounting screws, remove the rear door inside handle (A).
Other information:
Hyundai Elantra (CN7) 2021-2026 Service Manual: Refrigerant Line
Components and components location Components Location1. Refrigerant Pipe Assembly Repair procedures Replacement1.If the compressor is marginally operable, run the engine at idle speed, and let the air conditioning work for a few minutes, then shut the engine off.
Hyundai Elantra (CN7) 2021-2026 Service Manual: Troubleshooting
Trouble Symptom ChartsTrouble Symptom 1Trouble Symptom 2 Trouble symptom Probable cause Remedy The set vehicle speed varies greatly upward or downward"Surging" (repeated alternating acceleration and deceleration) occurs after settingMalfunction of the vehicle speed se
Categories
- Manuals Home
- Hyundai Elantra Owners Manual
- Hyundai Elantra Service Manual
- Driver assistance system
- Front Bumper
- Vehicle Information
- New on site
- Most important about car
