
Hyundai Elantra (CN7): Interior Trim / Rear Package Tray Trim
Components and components location
| Component Location |
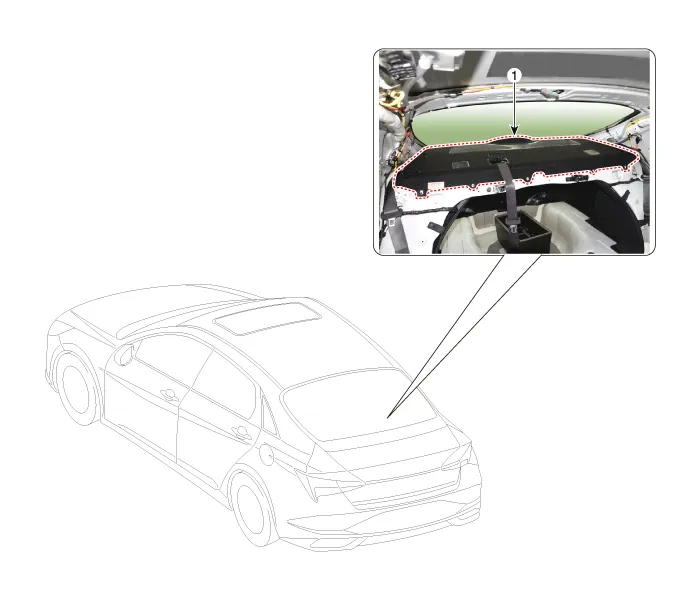
| 1. Rear package tray trim |
Repair procedures
| Replacement |
|

|

| 1. | Remove the rear seat cushion assembly. (Refer to Rear Seat - "Rear Seat Assembly") |
| 2. | Using a screwdriver or remover, remove the rear door scuff trim (A).
|
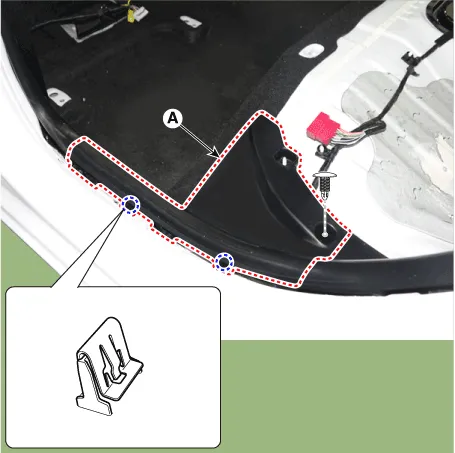
| 3. | Using a screwdriver or remover, remove the rear pillar trim (A).
|

| 4. | Loosen mounting clips and bolts, remove the luggage partition side trim (A) and (B).
|
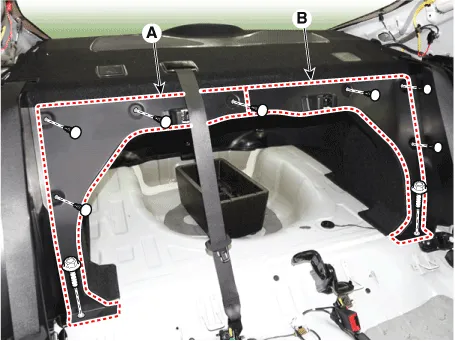
| 5. | After loosening the mounting bolts, remove the rear wheel house trim (A).
|
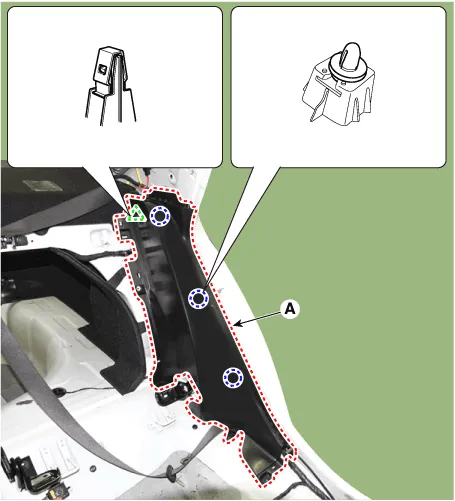
| 6. | Loosen the mounting bolt, remove the rear seat belt lower anchor (A).
[LH]
[CTR]
[RH]
|

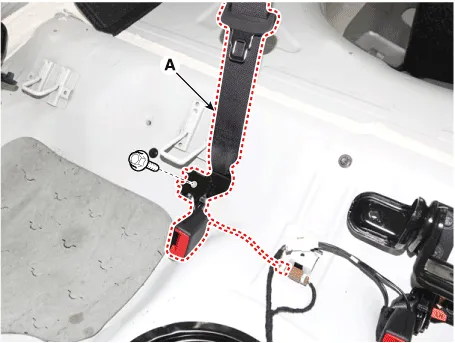
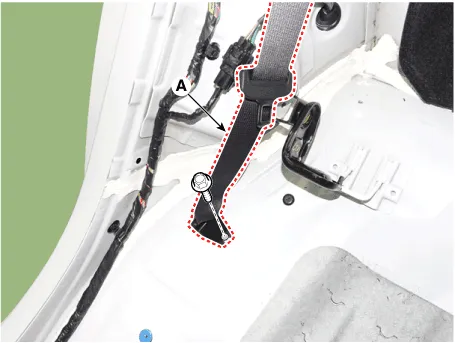
| 7. | Open the rear seat belt cover (A).
|
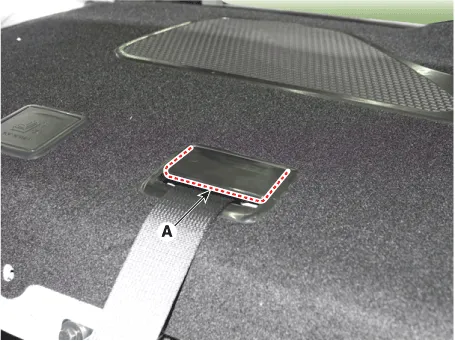
| 8. | Press the lock pin, separate the connector (A).
|
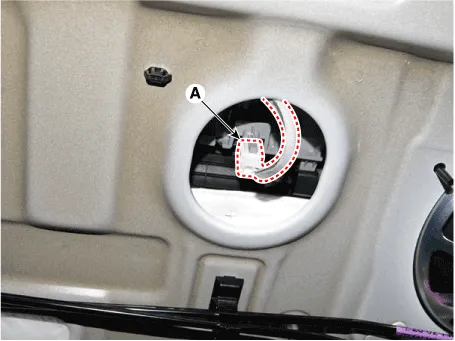
| 9. | Using a screwdriver or remover, remove the rear package tray trim (A).
|
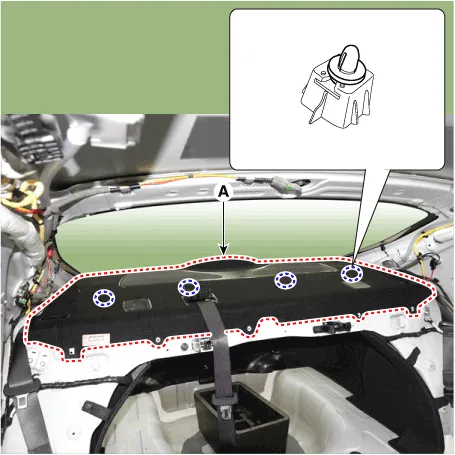
| 10. | To install, reverse the removal procedure.
|

Components and components location Component Location 1. Rear wheel house trim Repair procedures Replacement • When removing with a flat-tip screwdriver or remover, wrap protective tape around the tools to prevent damage to components.
Components and components location Component Location 1. Rear transverse trim Repair procedures Replacement • When removing with a flat - tip screwdriver or remover, wrap protective tape around the tools to prevent damage to components.
Other information:
Hyundai Elantra (CN7) 2021-2026 Service Manual: Wireless Charging Lamp
Components and positions Components Repair procedures Removal • Handling wireless charging system parts by wet hands may cause electric shock. 1.Disconnect the negative (-) battery terminal.2.Remove the floor console upper cover assembly.
Hyundai Elantra (CN7) 2021-2026 Service Manual: Repair procedures
Refrigerant System Service Basics (R-134a)Refrigerant Recovery Use only service equipment that is U.L-listed and is certified to meet the requirements of SAE J2210 to remove HFC-134a(R-134a) from the air conditioning system. • Air conditioning refrigerant or lubricant vapor can irritate your eyes, nose, or
Categories
- Manuals Home
- Hyundai Elantra Owners Manual
- Hyundai Elantra Service Manual
- Front Bumper
- Instrument Panel Overview
- Integrated Thermal Management Module (ITM)
- New on site
- Most important about car
