Hyundai Elantra (CN7): Lubrication System / Engine Oil
Repair procedures
| Replacement |
|

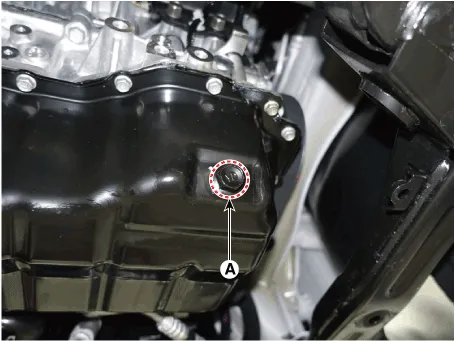
| 1. | Drain the engine oil.
|
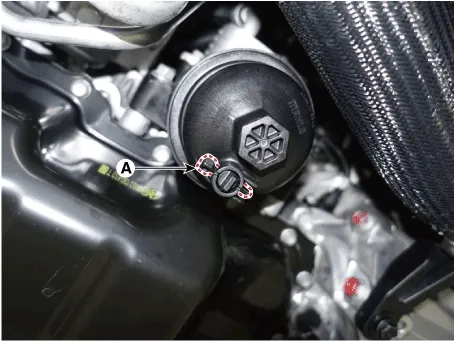
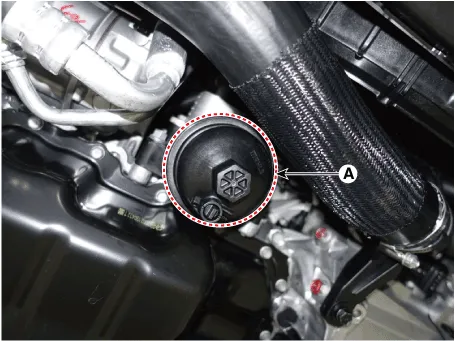
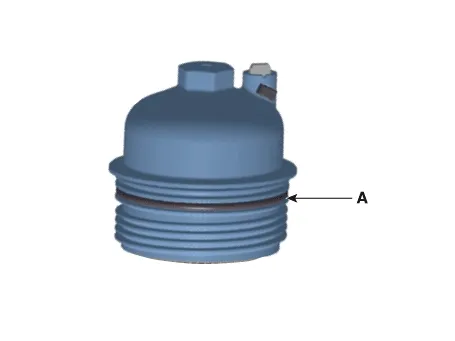
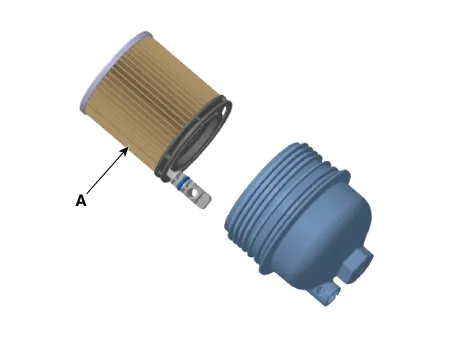
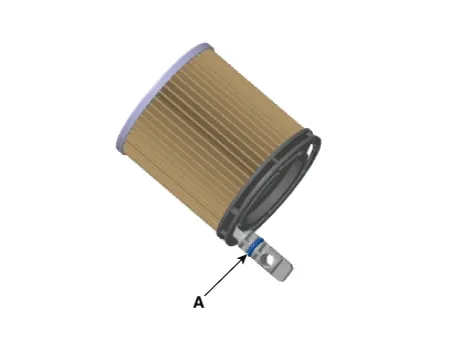
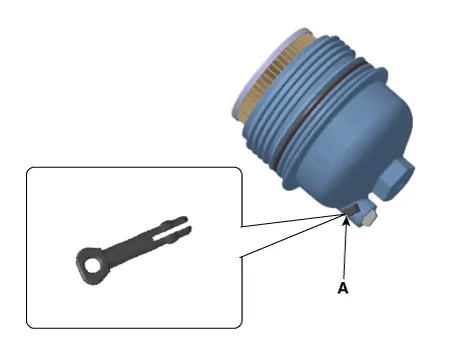
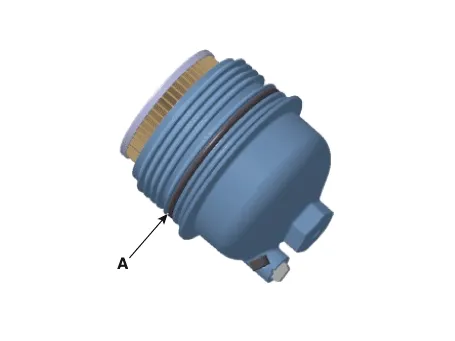
| 2. | Replace the oil filter.
|


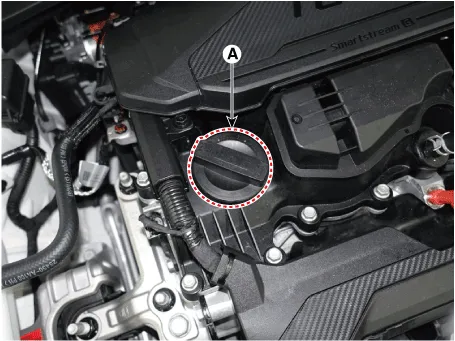
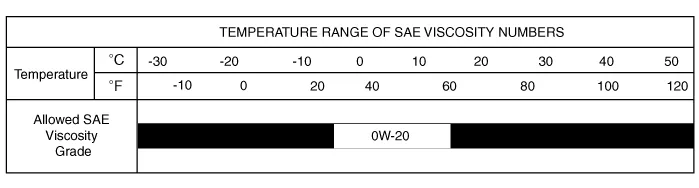
| 3. | Refill with engine oil.
|
| 4. | Engine and check for oil leaks. |
| 5. | Recheck the engine oil level. |
| Inspection |
| 1. | Check the engine oil quality. Check the oil deterioration, entry of water, discoloring of thinning. If the quality is visibly poor, replace the oil. |
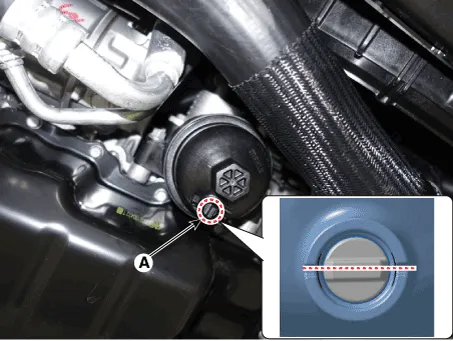
| 2. | Check the engine oil level. After warning up the engine and then 10 minutes after the engine stop, oil level should be between the "L" and "F" marks in the dipstick. If low, check for leakage and add oil up to the "F" mark.
|
Engine oil flow diagram
Components and components location Components1. Oil pan2. Oil drain plug gasket3. Oil drain plug Repair procedures Removal1.Remove the engine room under cover.
Other information:
Hyundai Elantra (CN7) 2021-2026 Service Manual: General safety information and caution
General Safety Information and Caution1.Be careful when driving the vehicle using the smart cruise control system as follows.(1)On curves or inclines/declines• The smart cruise control system may have limits to detect distance to the vehicle ahead due to road and traffic conditions.
Hyundai Elantra (CN7) 2021-2026 Service Manual: Repair procedures
Inspection1.Check for resistance between terminals in each switch position (LH).[LH : Audio + Hands free] Switch Resistance (±5%) SEEK Up430 ΩSEEK Down1.11 kΩMODE2.11 kΩMUTE3.11 kΩVolume (+)4.
Categories
- Manuals Home
- Hyundai Elantra Owners Manual
- Hyundai Elantra Service Manual
- Specifications
- Instrument Cluster
- Components and components location
- New on site
- Most important about car
