
Hyundai Elantra (CN7): Lubrication System / Engine Oil
Repair procedures
| Replacement |
|

| 1. | Drain the engine oil.
|
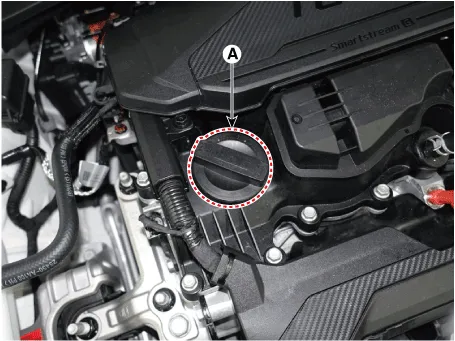
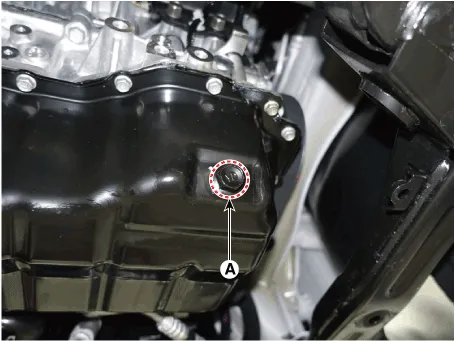
| 2. | Replace the oil filter.
|
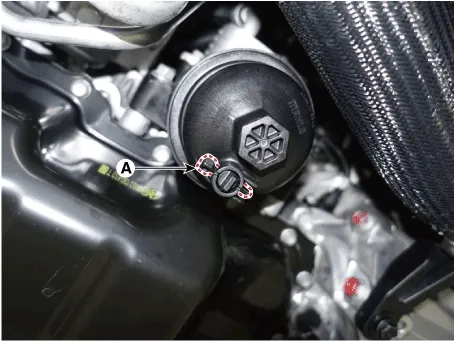
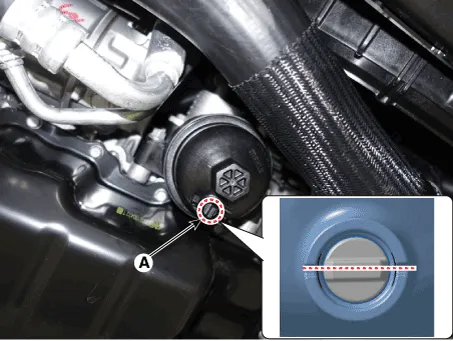
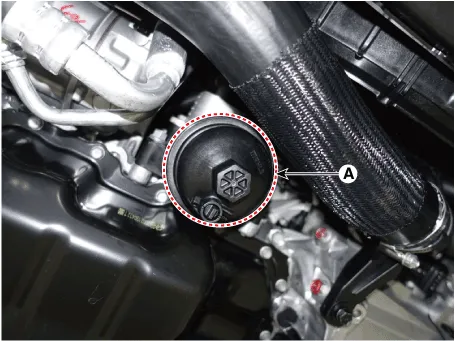
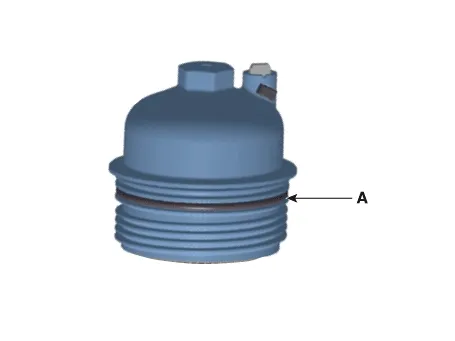

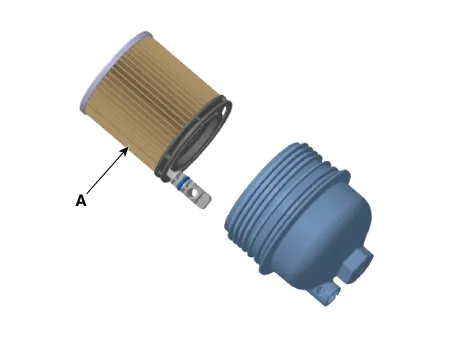
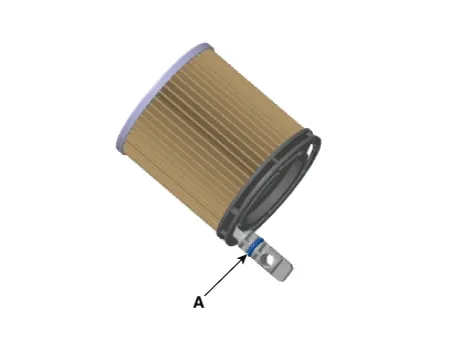

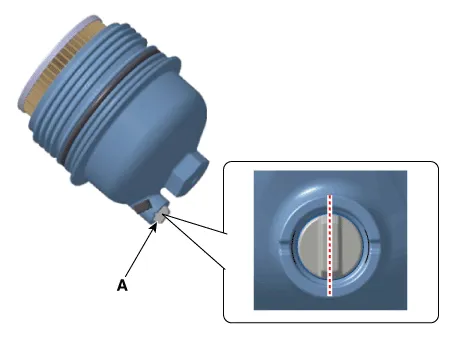
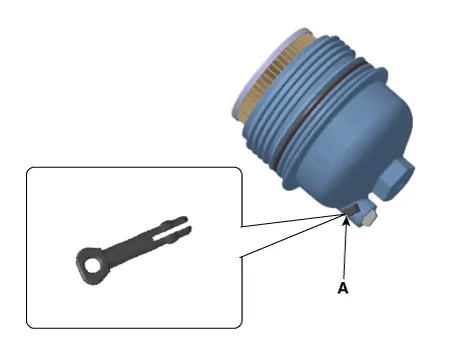
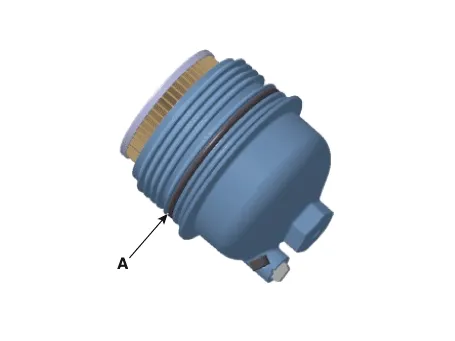
| 3. | Refill with engine oil.
|
| 4. | Engine and check for oil leaks. |
| 5. | Recheck the engine oil level. |
| Inspection |
| 1. | Check the engine oil quality. Check the oil deterioration, entry of water, discoloring of thinning. If the quality is visibly poor, replace the oil. |
| 2. | Check the engine oil level. After warning up the engine and then 10 minutes after the engine stop, oil level should be between the "L" and "F" marks in the dipstick. If low, check for leakage and add oil up to the "F" mark.
|
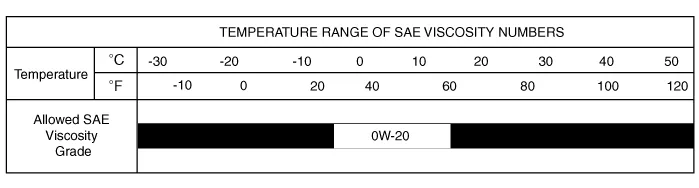
Engine oil flow diagram
Components and components location Components1. Oil pan2. Oil drain plug gasket3. Oil drain plug Repair procedures Removal1.Remove the engine room under cover.
Other information:
Hyundai Elantra (CN7) 2021-2026 Service Manual: Refrigerant Line
Components and components location Components Location1. Refrigerant Pipe Assembly Repair procedures Replacement1.If the compressor is marginally operable, run the engine at idle speed, and let the air conditioning work for a few minutes, then shut the engine off.
Hyundai Elantra (CN7) 2021-2026 Service Manual: Warning Indicator
Components and components location Components1. BSD Indicator2. Side repeater lamp Repair procedures Inspection1.Disconnect the negative (-) battery terminal.2.Remove the front door trim.(Refer to Body - "Front door trim")3.Disconnect the power door mirror connector from the harness4.
Categories
- Manuals Home
- Hyundai Elantra Owners Manual
- Hyundai Elantra Service Manual
- Integrated Thermal Management Module (ITM)
- Instrument Panel Overview
- Front Bumper
- New on site
- Most important about car
