
Hyundai Elantra (CN7): Rear Seat / Rear Seat Back Cover
Components and components location
| Component Location |
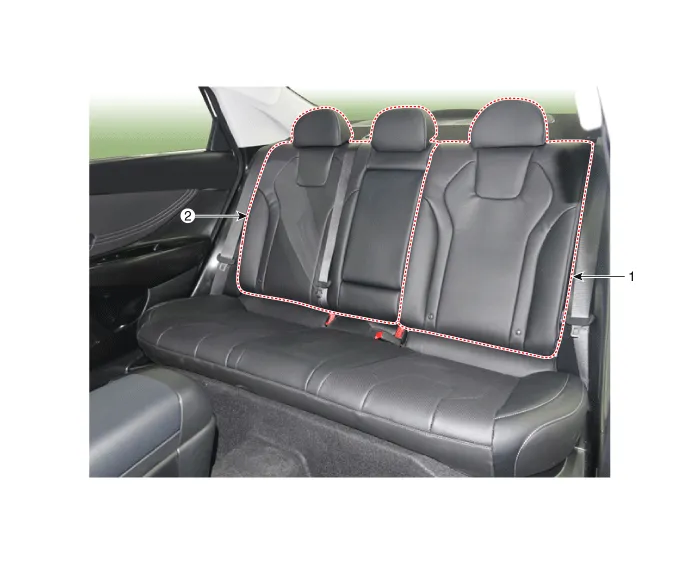
| 1. Rear seat back cover [LH] | 2. Rear seat back cover [RH] |
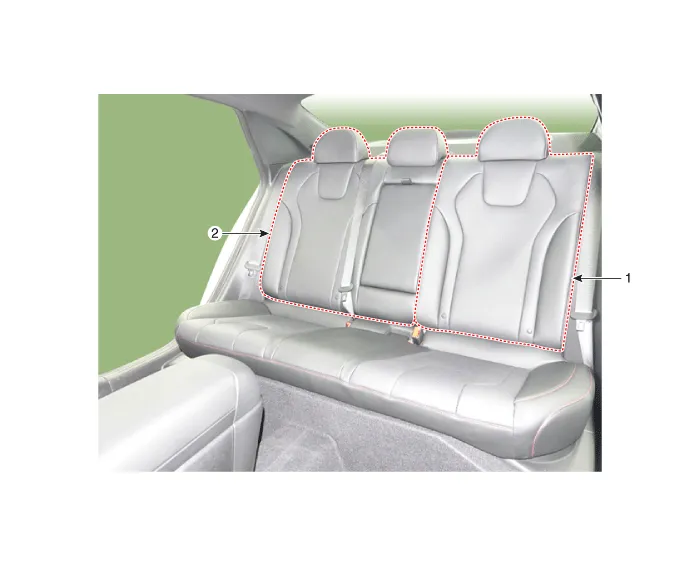
| 1. Rear seat back cover [LH] | 2. Rear seat back cover [RH] |
Repair procedures
| Replacement |
| [LH] |
|

| 1. | Remove the rear seat assembly [LH]. (Refer to Rear Seat - "Rear Seat Assembly") |
| 2. | Push the lock pin, remove the rear seat headrest (A).
|
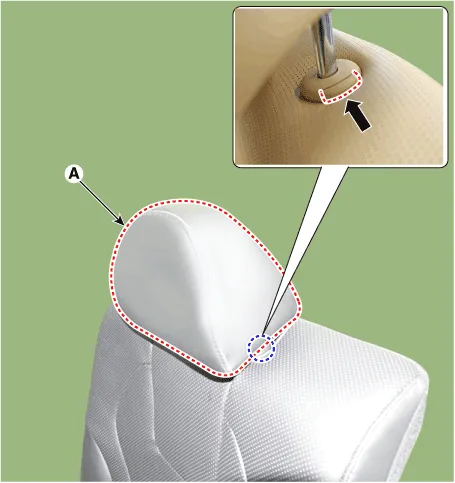
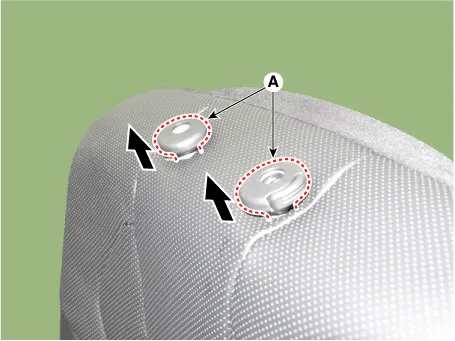
| 3. | Using a screwdriver or remover, remove the rear seat back cover (A).
|
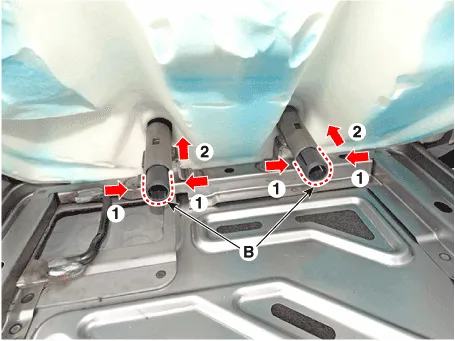
| 4. | Press the both hook (B) and remove the headrest guides (A) by pulling upward.
|
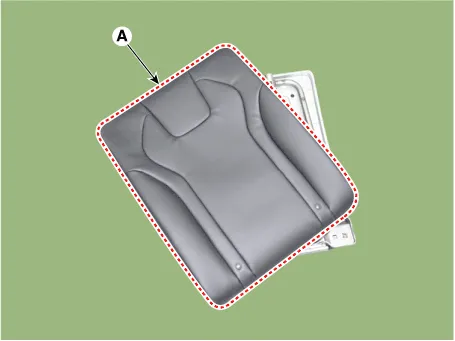
| 5. | Remove the rear seat back cover assembly (A) from the rear seat back frame.
|
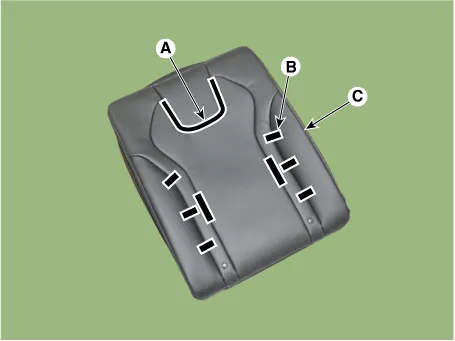
| 6. | After removing the Velcro tape (A) and tie down clips (B) inside the rear seat cushion cover, remove the seat cushion cover (C).
|
| 7. | To install, reverse the removal procedure. |
| [RH] |
|
| 1. | Remove the rear seat assembly [RH]. (Refer to Rear Seat - "Rear Seat Assembly") |
| 2. | Remove the rear back armrest. (Refer to Rear Seat - "Rear Back Armrest") |
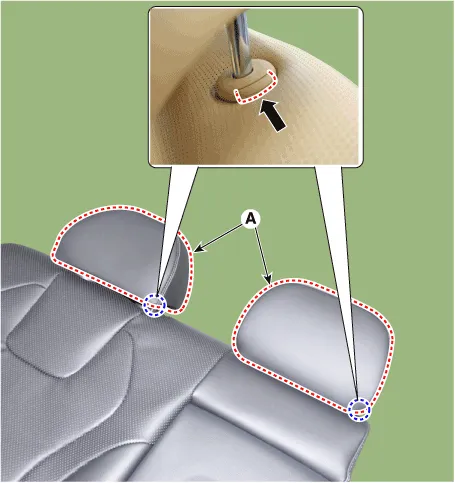
| 3. | Push the lock pins, and remove the rear seat headrest (A).
|
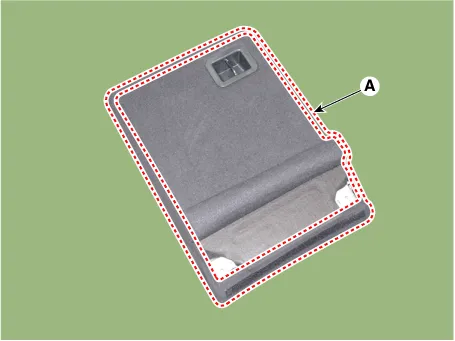
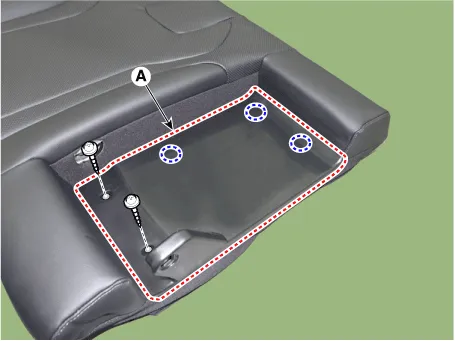
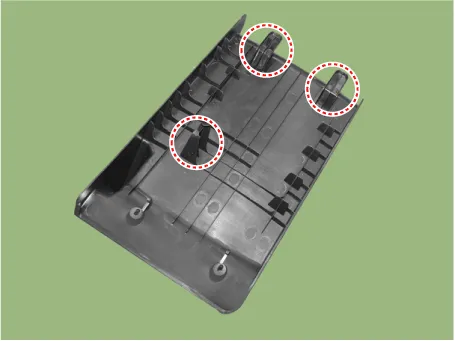
| 4. | Loosen the mounting screws, remove the rear seat armrest board (A).
|
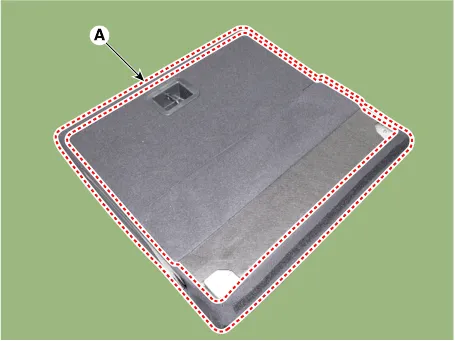
| 5. | Using a screwdriver or remover, remove the rear seat back cover (A).
|
| 6. | Press the both hook (B) and remove the headrest guides (A) by pulling upward.
|
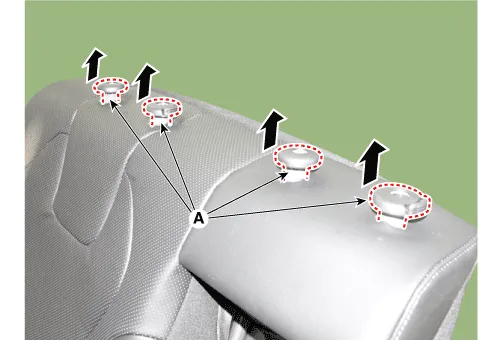
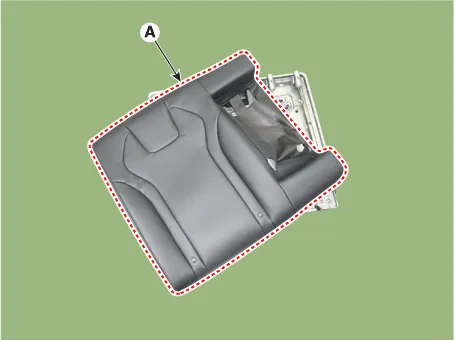
| 7. | Remove the rear seat back cover assembly (A) from the rear seat back frame.
|
| 8. | After removing the Velcro tape (A) and tie down clips (B) inside the rear seat cushion cover, remove the seat cushion cover (C).
|
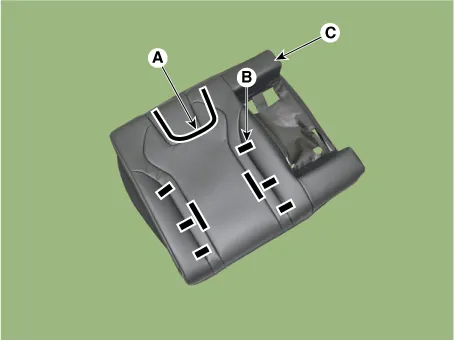
| 9. | To install, reverse the removal procedure. |
Components and components location Component Location [General type]1. Rear seat cushion assembly2. Rear seat back assembly[N Line]1. Rear seat cushion assembly2.
Components and components location Component Location [General type]1. Rear seat cushion cover [N Line]1. Rear seat cushion cover Repair procedures Replacement • When removing with a flat-tip screwdriver or remover, wrap protective tape around the tools to prevent damage to components.
Other information:
Hyundai Elantra (CN7) 2021-2026 Service Manual: Components and components location
C
Hyundai Elantra (CN7) 2021-2026 Service Manual: Rear View Monitor (RVM)
Description and operation DescriptionRear view camera will activate when the backup light is ON with the ignition switch ON and the shift lever in the R position.This system is a supplemental system that shows behind the vehicle through the AV monitor or the ECM (Reverse Display Room Mirror) mirror while backing-up.
Categories
- Manuals Home
- Hyundai Elantra Owners Manual
- Hyundai Elantra Service Manual
- Function settings
- Instrument Cluster
- Engine Control / Fuel System
- New on site
- Most important about car
