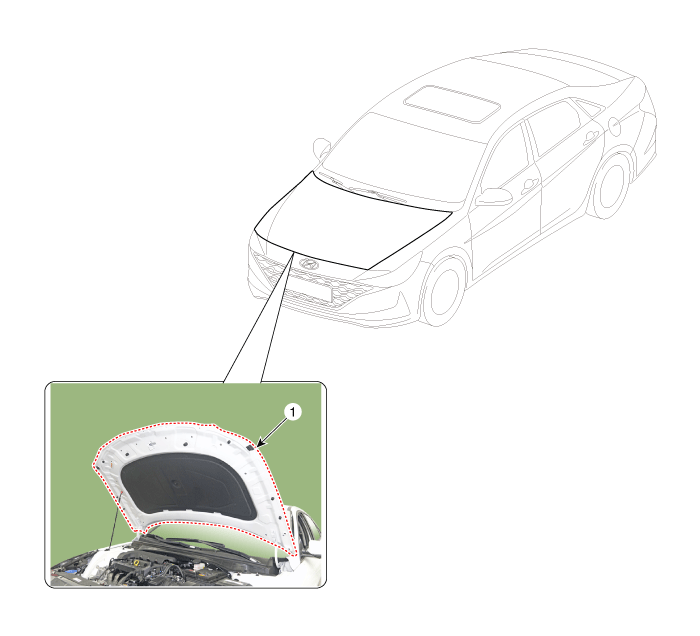
Hyundai Elantra: Hood / Hood Assembly
Components and components location
Repair procedures
| •
| Removing or installing the hood requires an assistant. |
|
| •
| Be careful not to damage the hood and body. |
|
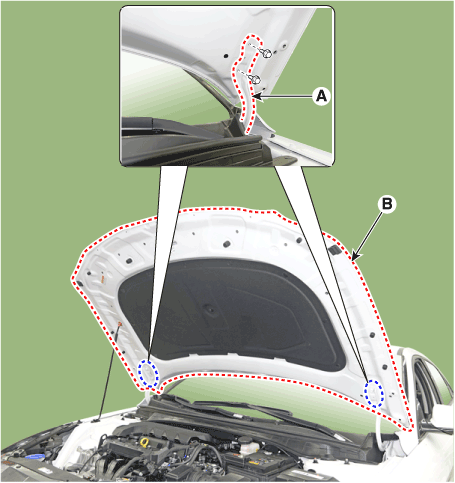
| 1. | After loosening the hood hinge (A) mounting bolts, remove the hood assembly (B). Tightening torque : 21.6 - 26.5 N.m (2.2 - 2.7 kgf.m, 15.9 - 19.5 lb-ft) |
|
| 2. | To install, reverse the removal procedure. | •
| Make sure the hood locks / unlocks and opens / closes properly. |
| •
| Adjust the hood alignment. |
|
|
Adjustment1.After loosening the hinge (A) mounting bolt, adjust the hood (B) by moving it up and down or from side to side and tighten the bolt.2.Adjust the hood height by moving the hood overslam bumpers (C) up and down...
Repair procedures
Replacement
•
Be careful not to scratch the hood panel. 1.Using a clip remover, remove the clips and then the hood insulator pad (A)...
Other information:
Components and components location
Components1. Control shaft complete2. Control cable bracket3. Back-up lamp switch4. Manual transaxle bracket5. Concentric slave cylinder
Repair procedures
Removal 1.Remove the air cleaner assembly and air duct...
Components1. Memory power seat unit (PSM)2. IMS control switch3. Outside Mirror..


 Repair procedures
 Hood Insulator Pad
.png)
