
Hyundai Elantra (CN7): Power Door Mirrors / Power Door Mirror Actuator
Repair procedures
| Removal |
| 1. | Disconnect (-) battery terminal. |
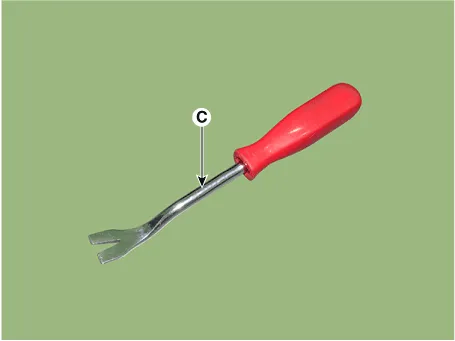
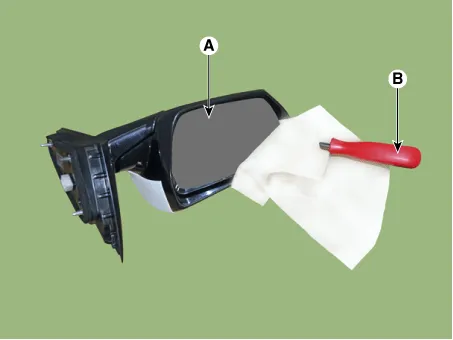
| 2. | Using a fastener remover (C), remove the mirror (A) as illustration below.
|

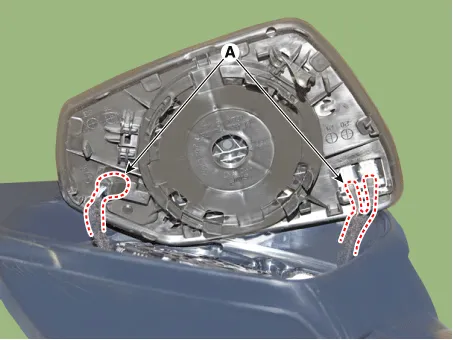
| 3. | Disconnect heat wire connectors (A) and then remove the mirror.
|
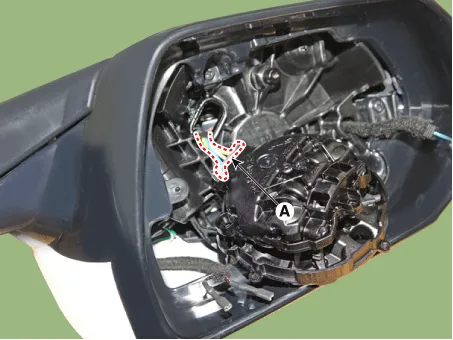
| 4. | Remove the mirror actuator (A) mounting screw.
|
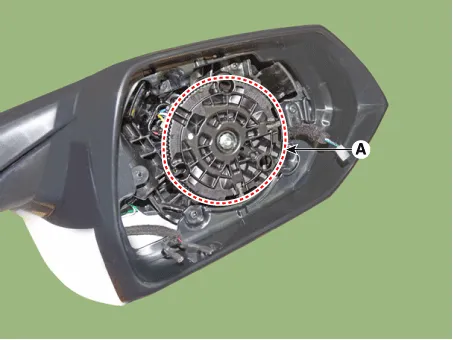
| 5. | Disconnect the connector (A) and then remove the mirror actuator.
|
| Installation |
| 1. | Connect the actuator connector and then install the mirror actuator. |
| 2. | Connect mirror heat wire connector and then install the mirror. |
| 3. | Connect (-) battery terminal then check if mirror works normally. |
Components and components location Components Schematic diagrams Circuit DiagramWithout Mirror FoldingWith Mirror Folding Repair procedures Inspection[Power Window Switch]1.
Components and components location Components1. Warning indicator2. Side repeater lamp Repair procedures Inspection1.Disconnect the negative (-) battery terminal.
Other information:
Hyundai Elantra (CN7) 2021-2026 Service Manual: General safety information and caution
Instructions (R-134a)When Handling Refrigerant1.R-134a liquid refrigerant is highly volatile. A drop on the skin of your hand could result in localized frostbite. When handling the refrigerant, be sure to wear gloves. 2.It is standard practice to wear goggles or glasses to protect your eyes, and gloves to protect your hands.
Hyundai Elantra (CN7) 2021-2026 Service Manual: Heater & A/C Control Unit (Manual)
Components and components location Components[This illustration shows the LHD type. RHD type is symmetrical.][Connector A] Pin No Function Pin No Function 1Low (Register specifications)4Middle Low (Register specifications)2Common (Register
Categories
- Manuals Home
- Hyundai Elantra Owners Manual
- Hyundai Elantra Service Manual
- Steering System
- Engine Control / Fuel System
- Vehicle Information
- New on site
- Most important about car
